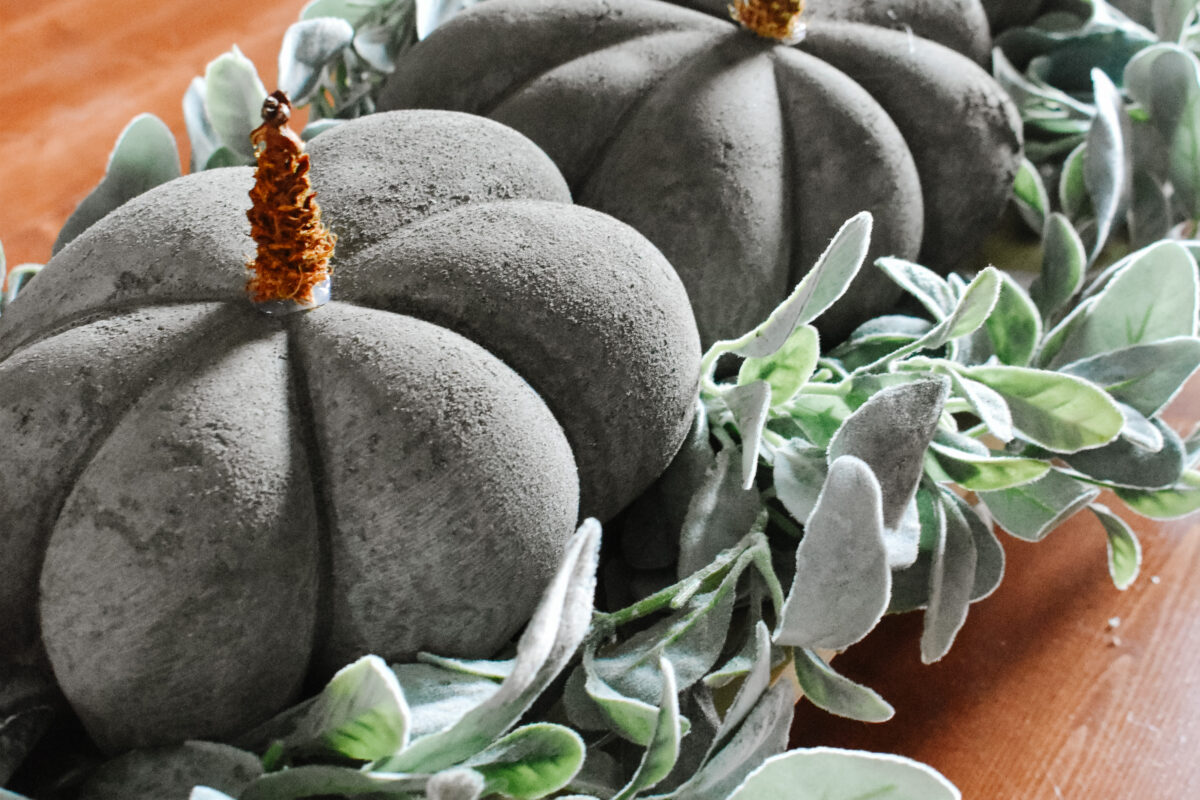

Guys. This has to be one of the coolest DIY’s I’ve done. I saw a video on HomeTalk showing a way to do this and I had to try it. I’m not going to lie, when I started it I thought it was going to be a dud for sure. You know how sometimes you watch a video and it seems easy and then you try and its a disaster. Thats where I thought this was heading.
I stuck with it through the mess and the goop and they turned out so cool! I even want to make more .. like mini ones. Maybe even some to paint. Let’s first though just share how to make these and then we’ll explore more.
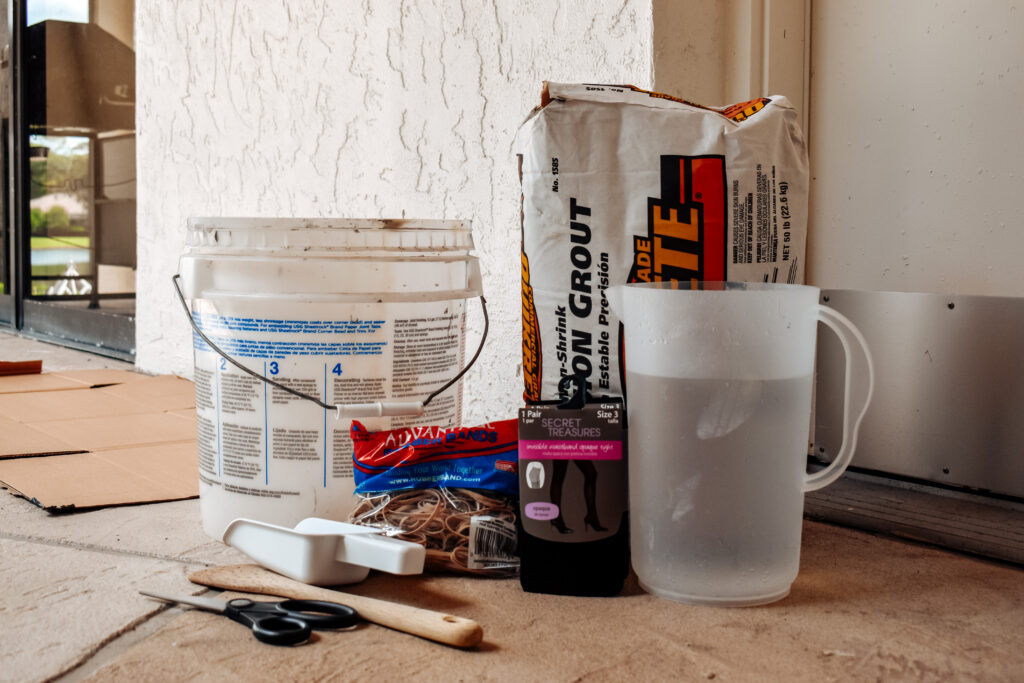
What you’ll need:
- Bag of Quickcrete
- Panty Hose
- Rubberbands
- Water
- Scissors / Stirring Stick / Scoop
- Cardboard or area to get messy
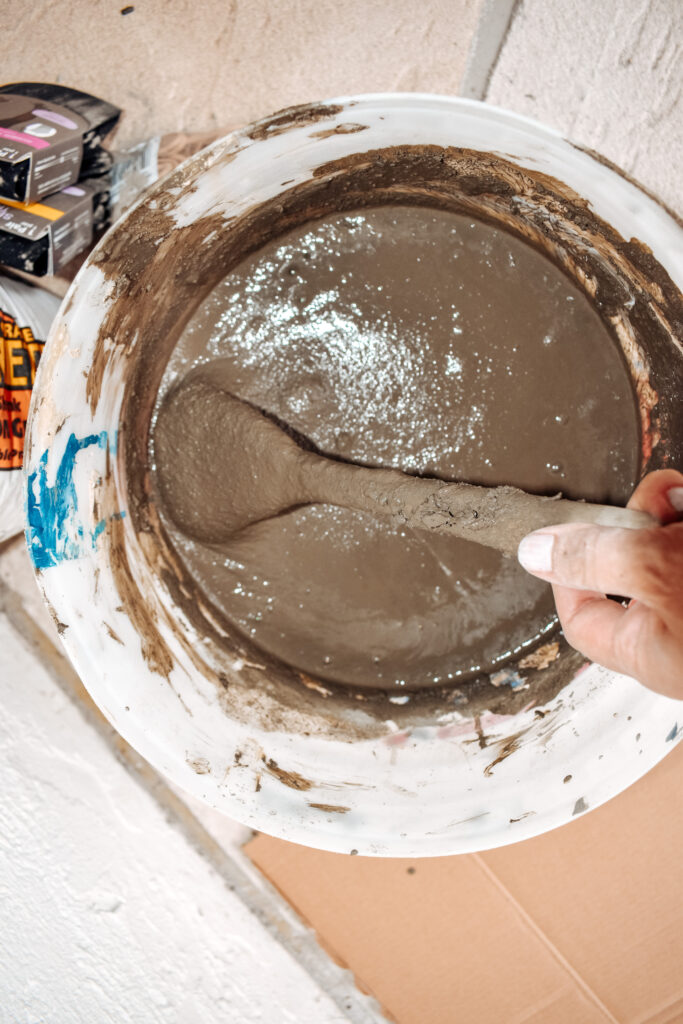
Start by mixing up your Quickcrete per the instructions. I used one pitcher of water and a half a bag of the Quickcrete to make a half of a five gallon bucket worth of concrete to use. This made three medium sized pumpkins.
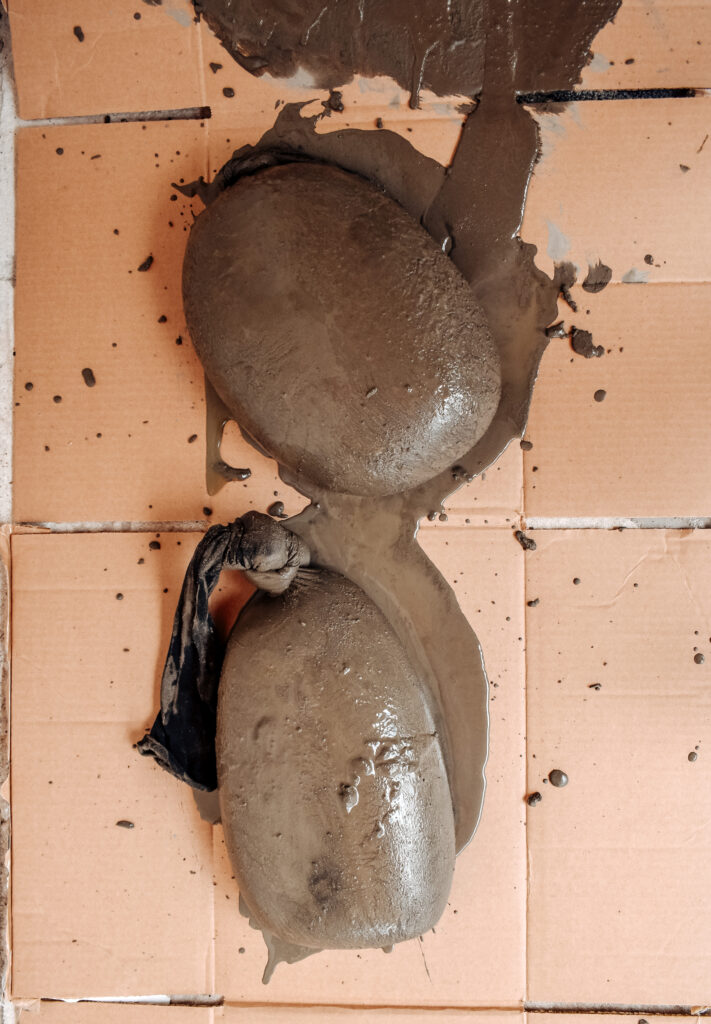
Cut each leg of the panty hose off (one leg = one pumpkin). Fill each leg with the Quickcrete to the desired size of your pumpkin. Tie up the end.
Using rubber bands (i doubled up on mine to make them pull in tighter) place them in a pumpkin pattern.
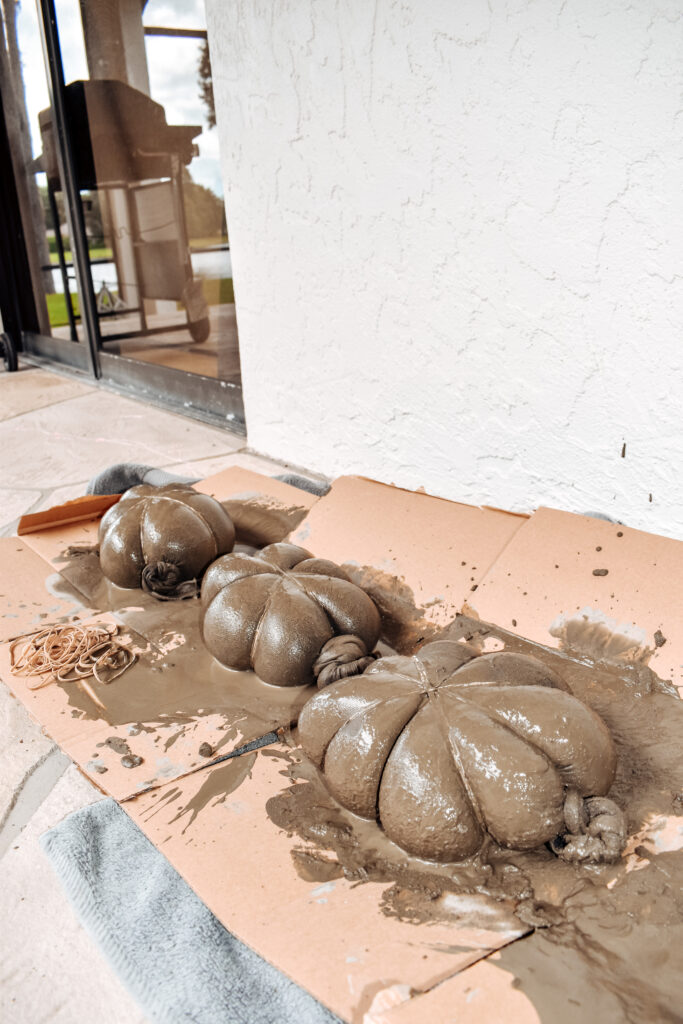
Let dry for a few hours or overnight and cut off the rubber bands and panty hose.
I found chewed up pinecones in my front yard to use as stems but you could also use rope, raffia, or sticks to make the top.

Thats it! They turned out so cool to me!
If you make these concrete pumpkins … Tag me! I’d love to see!
Instagram: @jessica.dawn.home | Facebook: Jessica Dawn Home

