[…] Stencil Floors Blog Post Utility Sink Refresh Blog Post DIY Concrete Countertops Blog […]
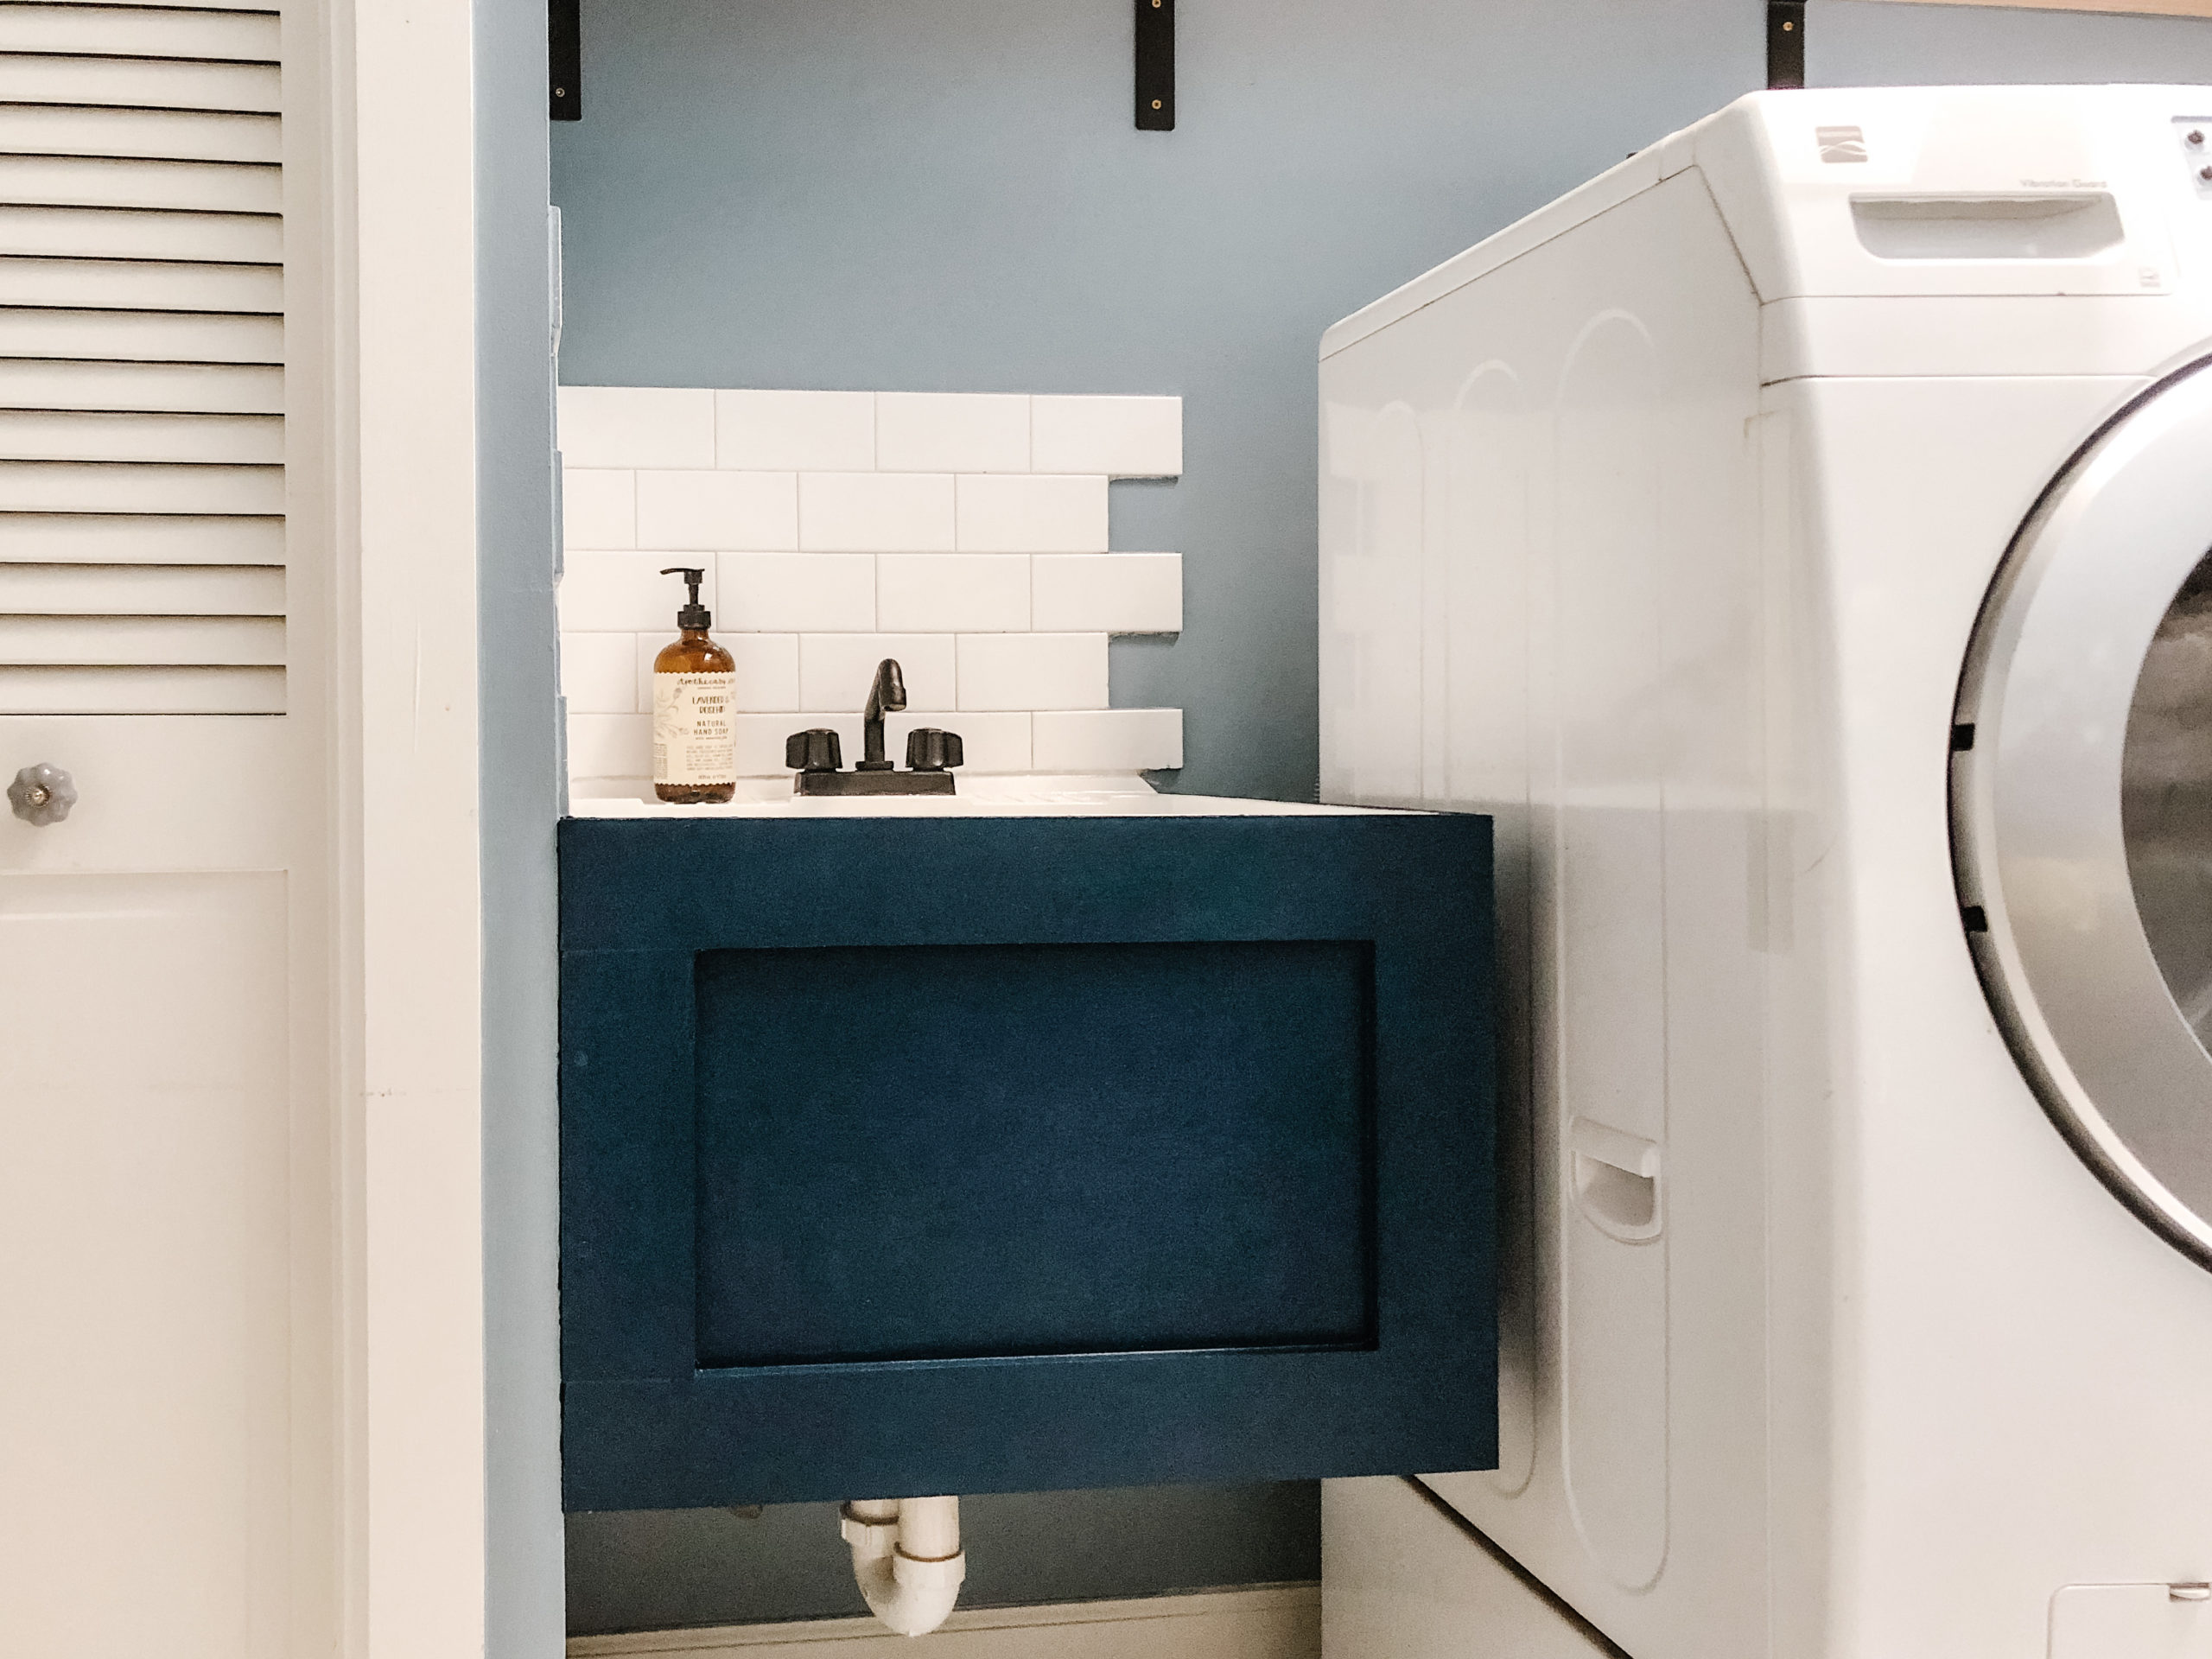
Continuing on our Laundry Room DIY Reno I needed to spruce up (or basically hide) our utility sink. I mean, is any utility sink really that great to look at?
While searching for inspiration for the laundry room I came across this:
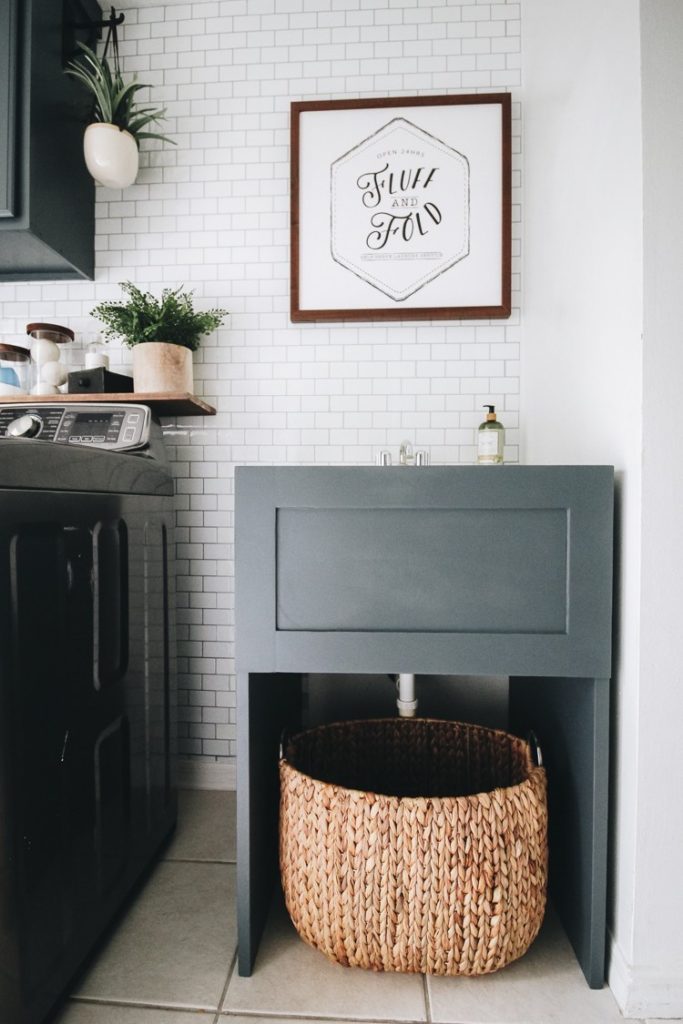
I checked out the blog post with step by step instructions and was ready to go, until I realized that my sink was attached to the side wall and theirs was not. I had to go back to the drawing board and come up with another plan.
I still used the style for inspiration but drew up my own plan and had my father in law help me bring it to fruition.
Before starting on the jacket that would go around the outside of the sink I wanted to do something to the inside. It was gross.
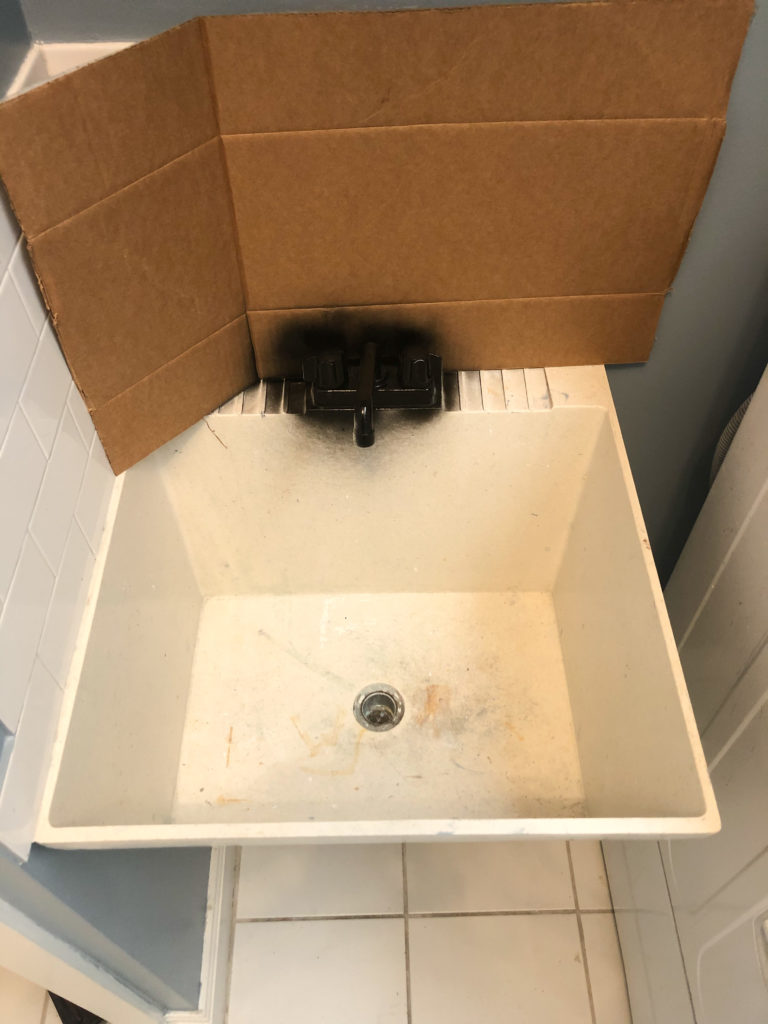
Oh yea, and I spray painted the existing faucet. My mom had found this product on Amazon and used it to do her entire bathtub and surround. So I thought I’d try it out.
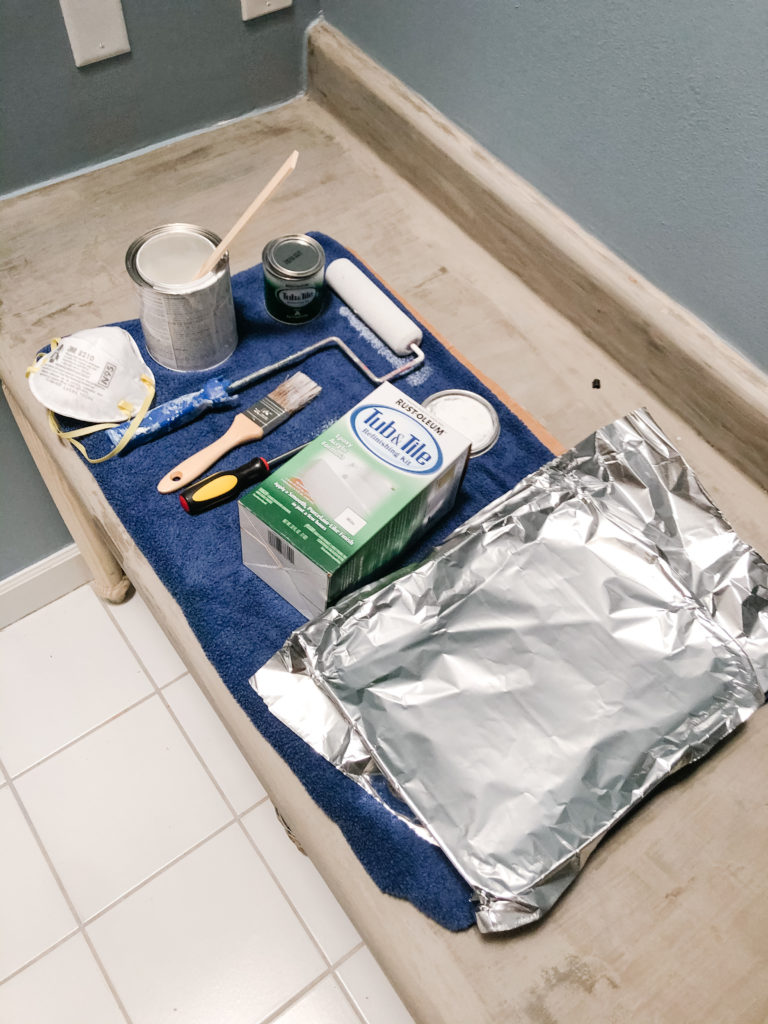
A few things to note about this product:
I was super impressed with the results – its like a brand new sink.
Now, moving on to the outside of the sink. Like I had mentioned, I came up with my own plan, inspired by the pinterest utility sink I found and drew this.
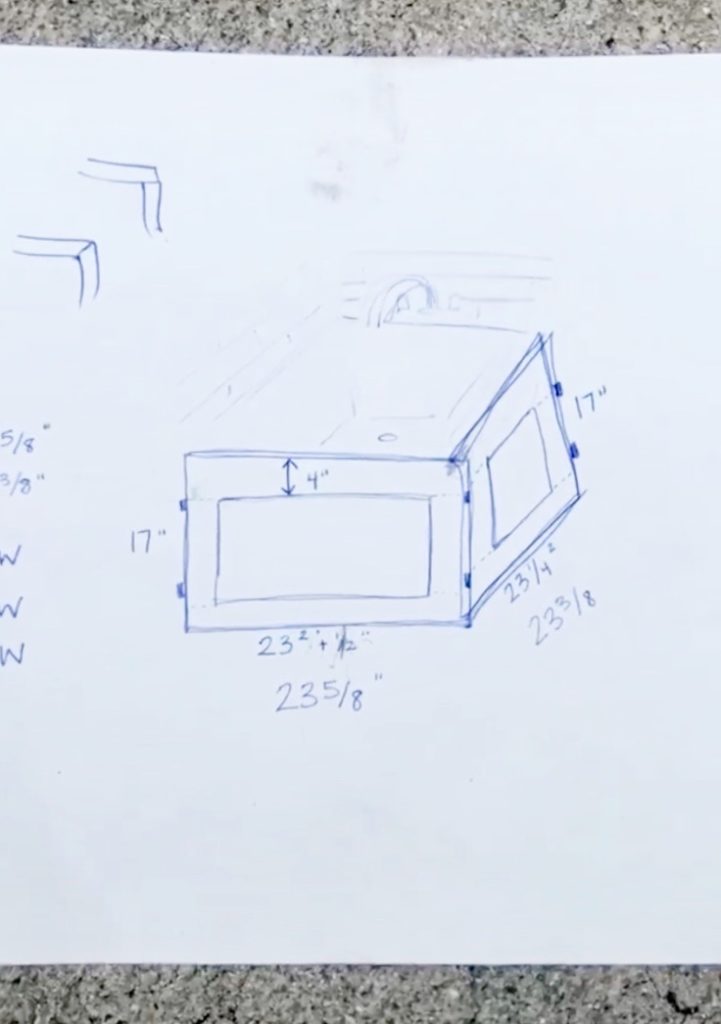
Everyone’s measurements are going to be different depending on the size and location of their sink. I used birch plywood – which is a little nicer and smooth. My father-in-law cut pieces to cover the front and side as well as pieces to make the decorative shaker look.
We used wood glue and small screws to hold everything together. The inside corner was held together by screwing into a small piece of wood we attached to the inner corner.
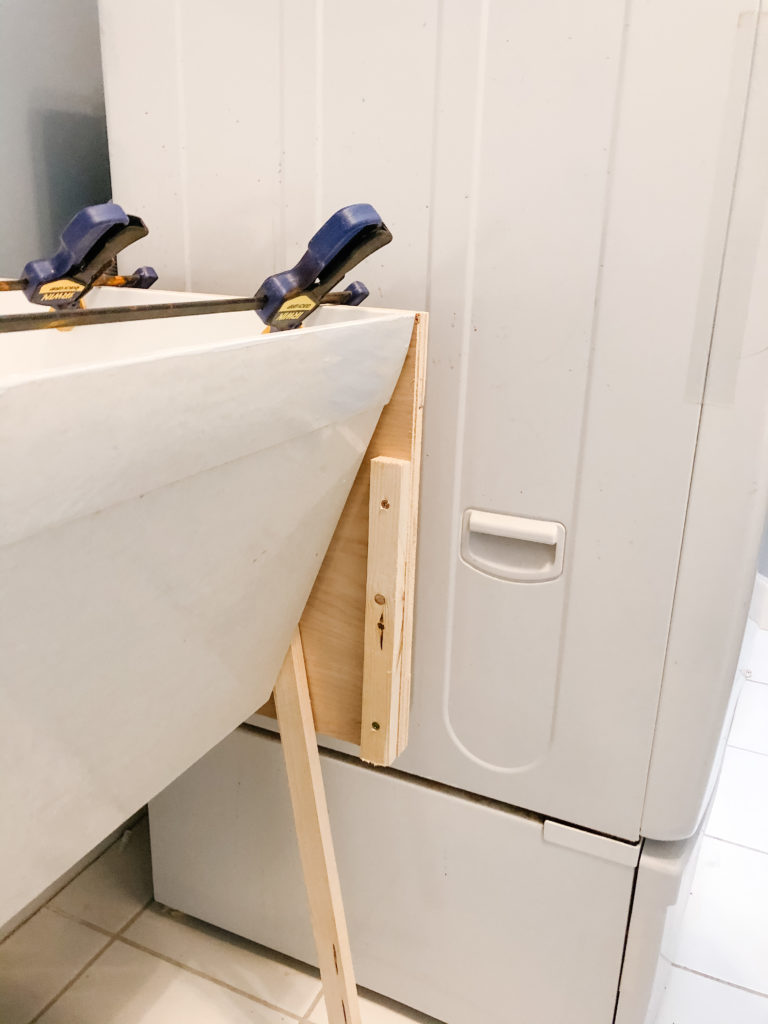
As for attaching it to the wall and sink – Any part of the wood that touched the sink was glued using E600 glue. Then small pieces of wood were screwed into the wall and the sink jacket then screwed into them. You could also use “L” brackets to attach the corner and to the wall.
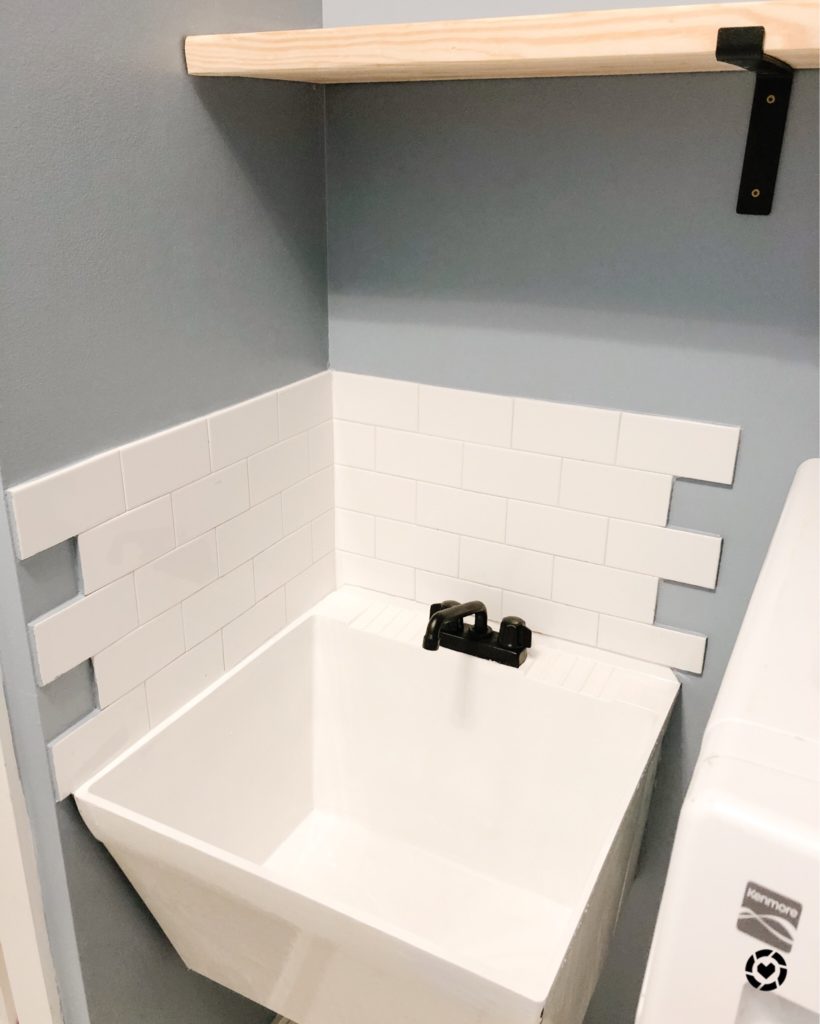
Last steps were to fill in any screw holes, and caulk the inner square and then paint! I used Nocturne Blue by Behr.
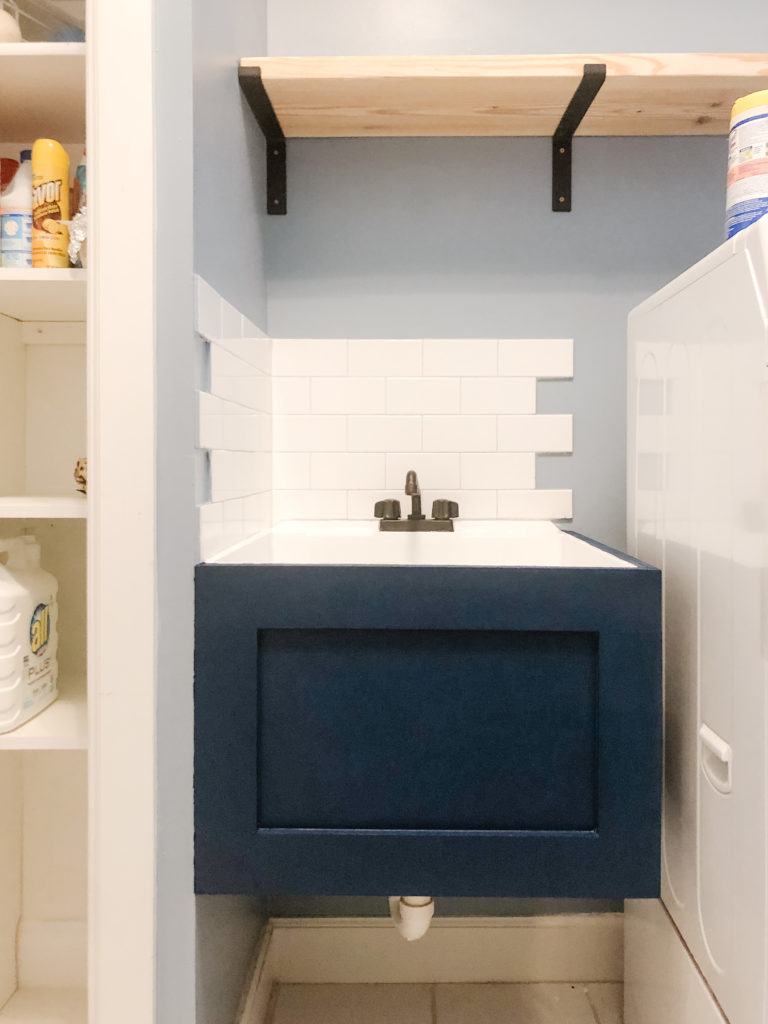
There you have it! What was once an unsightly, dirty utility sink is now something thats actually nice to look at!
SHOP THIS POST

If you do your own … Tag me! I’d love to see!
Instagram: @jessica.dawn.home | Facebook: Jessica Dawn Home
DIY diy decor laundry room laundry room diy laundry room inspo utility sink utility sink cover utility sink redo
[…] Stencil Floors Blog Post Utility Sink Refresh Blog Post DIY Concrete Countertops Blog […]