
I’m always looking for some fun DIY’s I can do for holiday decor … for Fall I love anything that doesn’t have to do with Pumpkins. I feel like all fall decor is pumpkin, pumpkin, pumpkin.
The idea of the Dried Orange Garland peaked my interest because it was not only beautiful but would add a nice aroma as well.
Lets start with our materials:
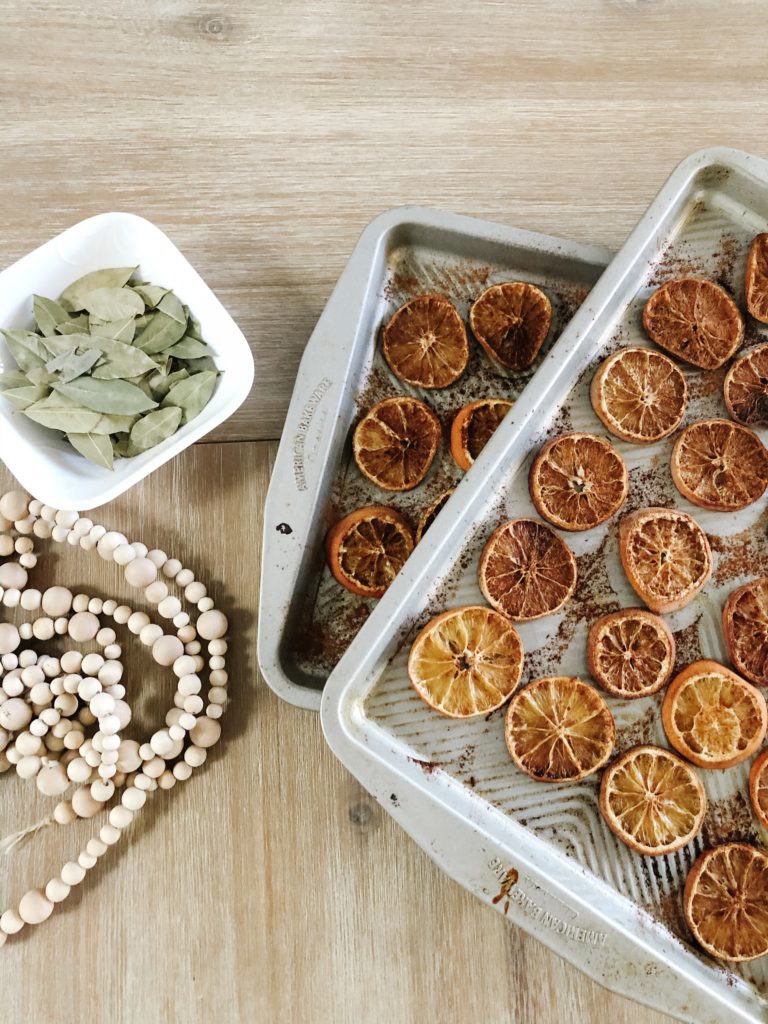
- 1 bag of Oranges (about 9 oranges – gave me 46 slices)
- 2 containers of Bay Leaves
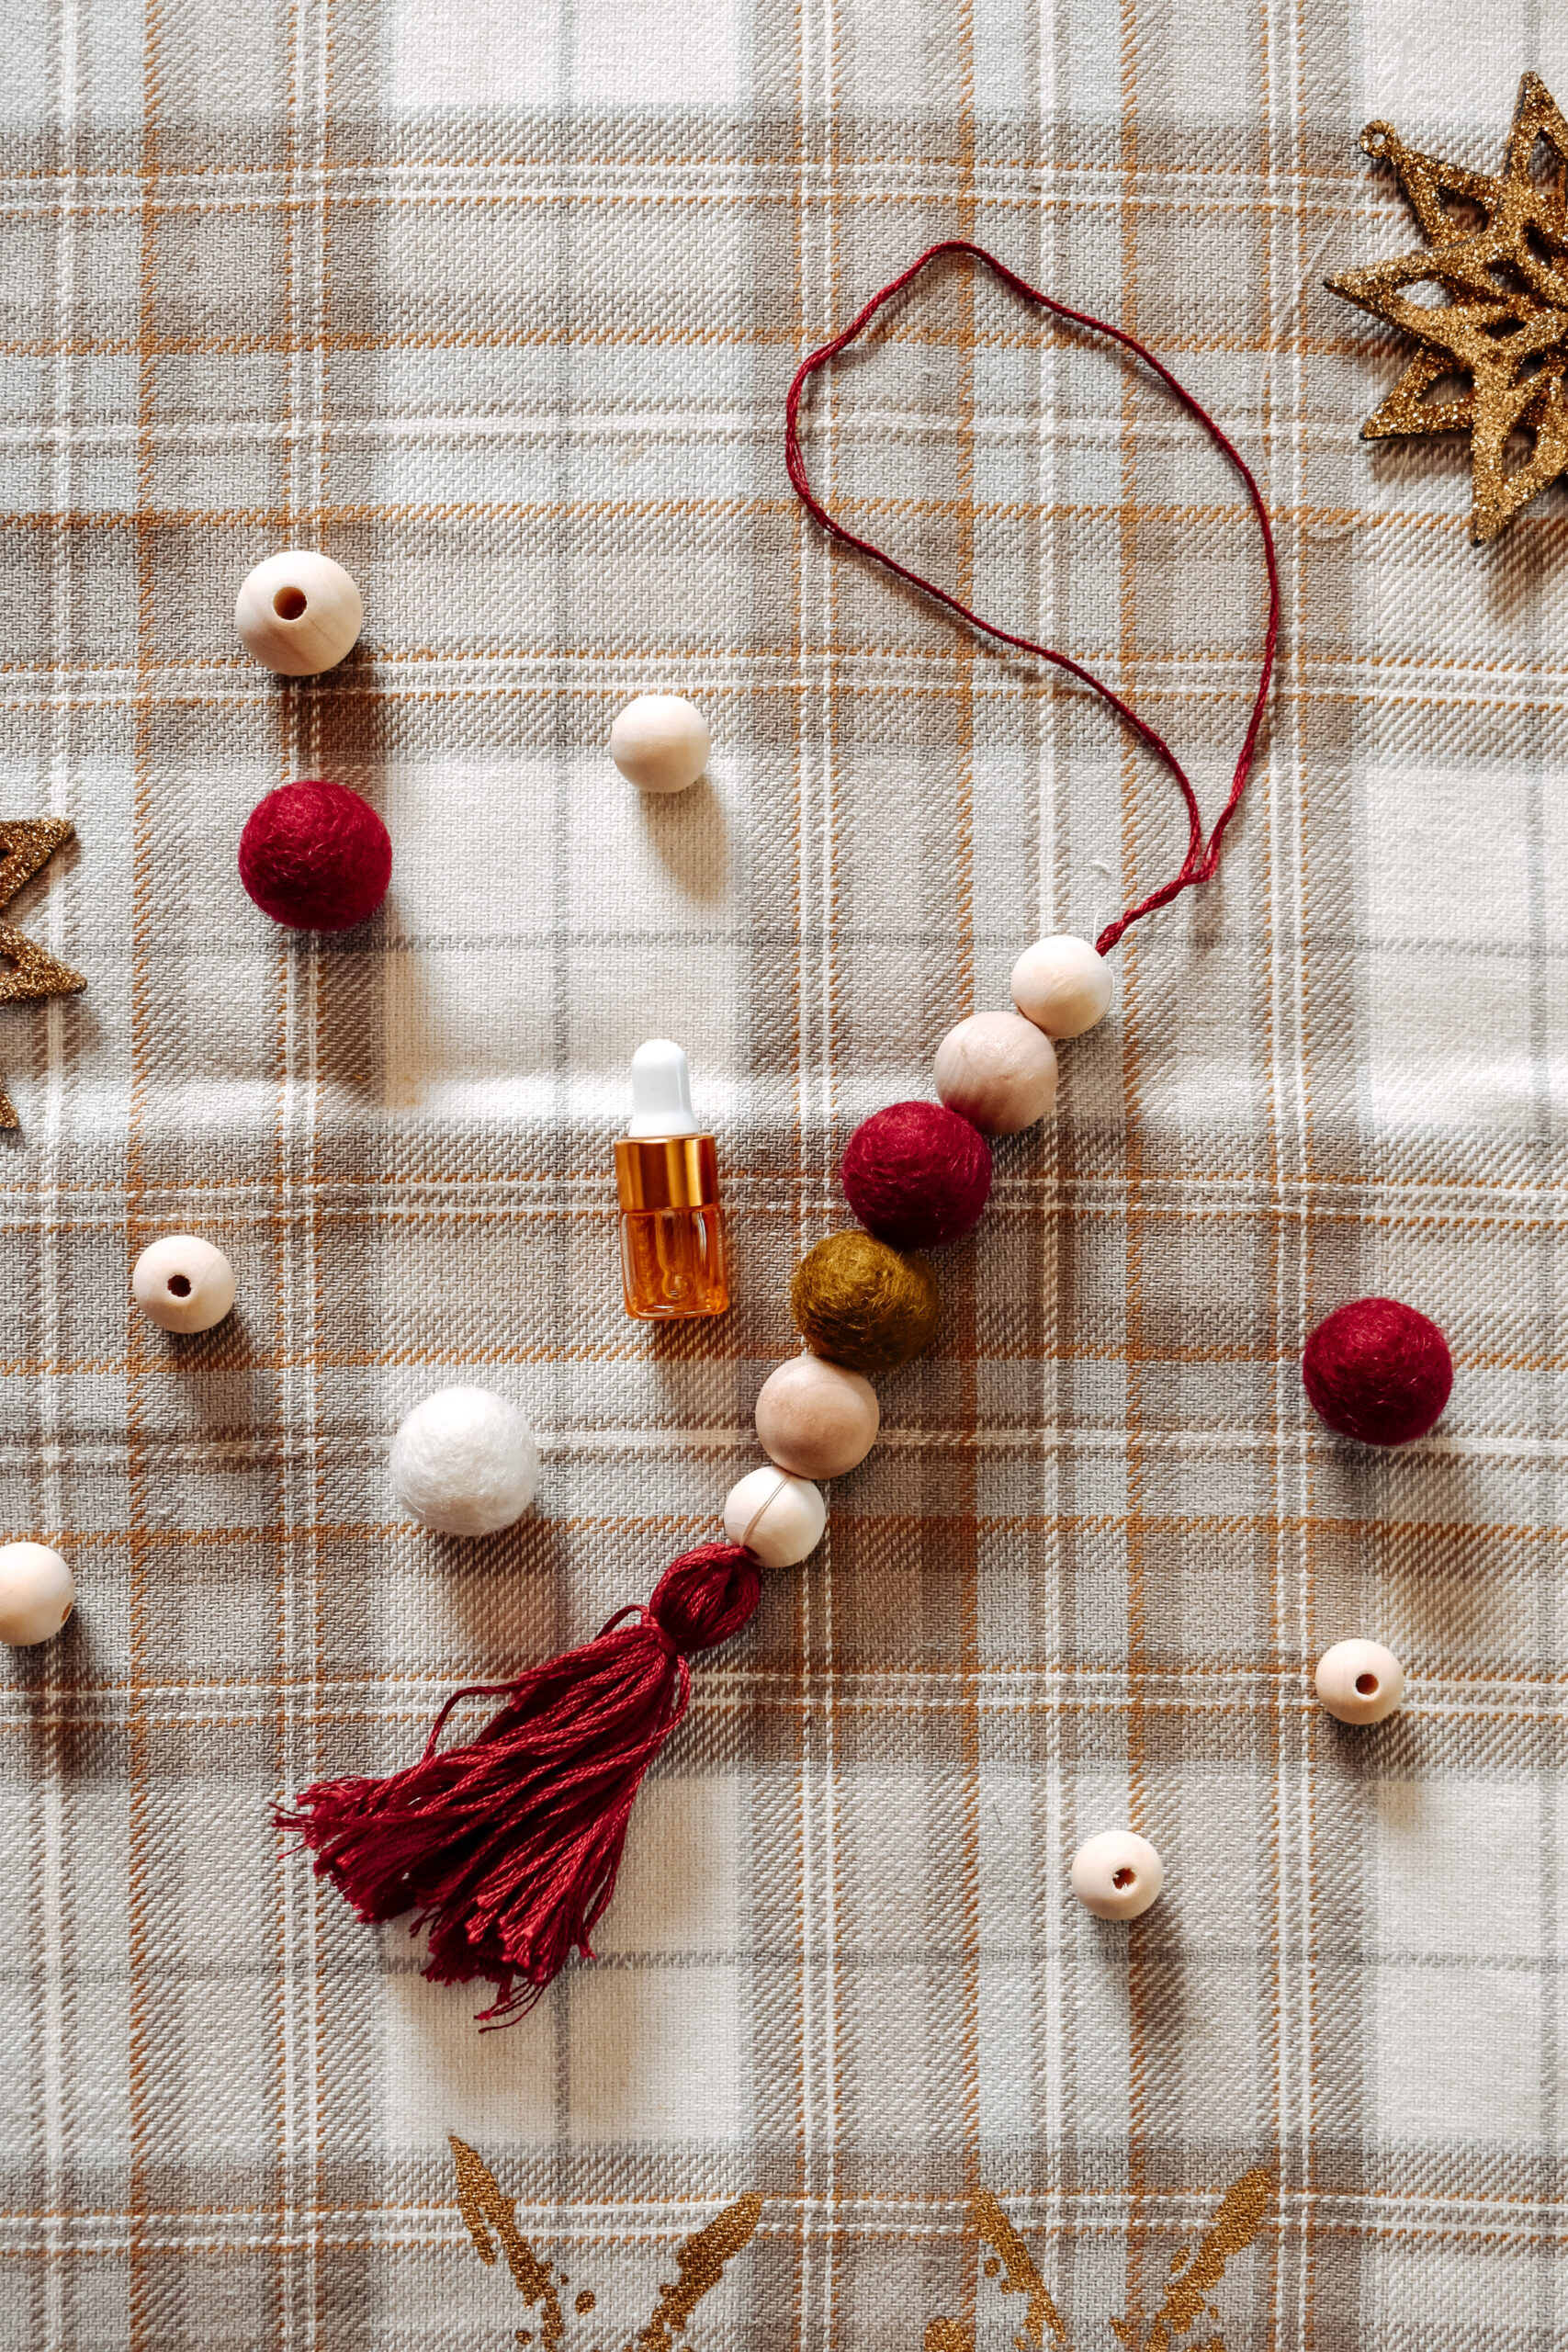
- wooden beads (i found mine HERE on amazon)
- Needle and Thread
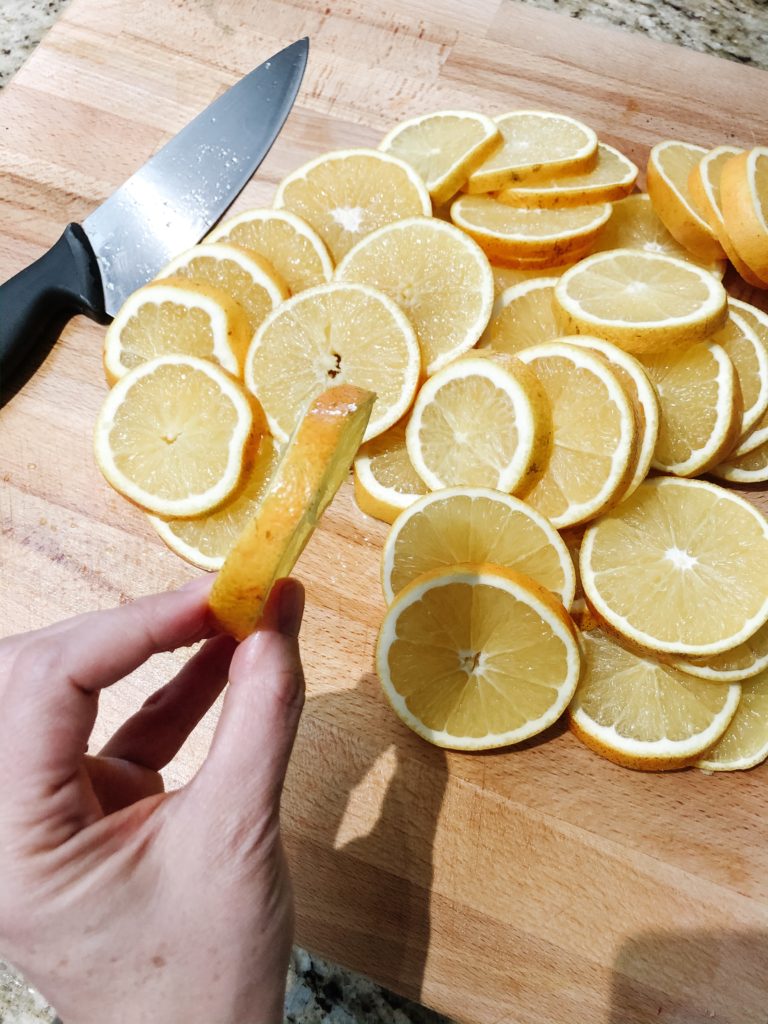
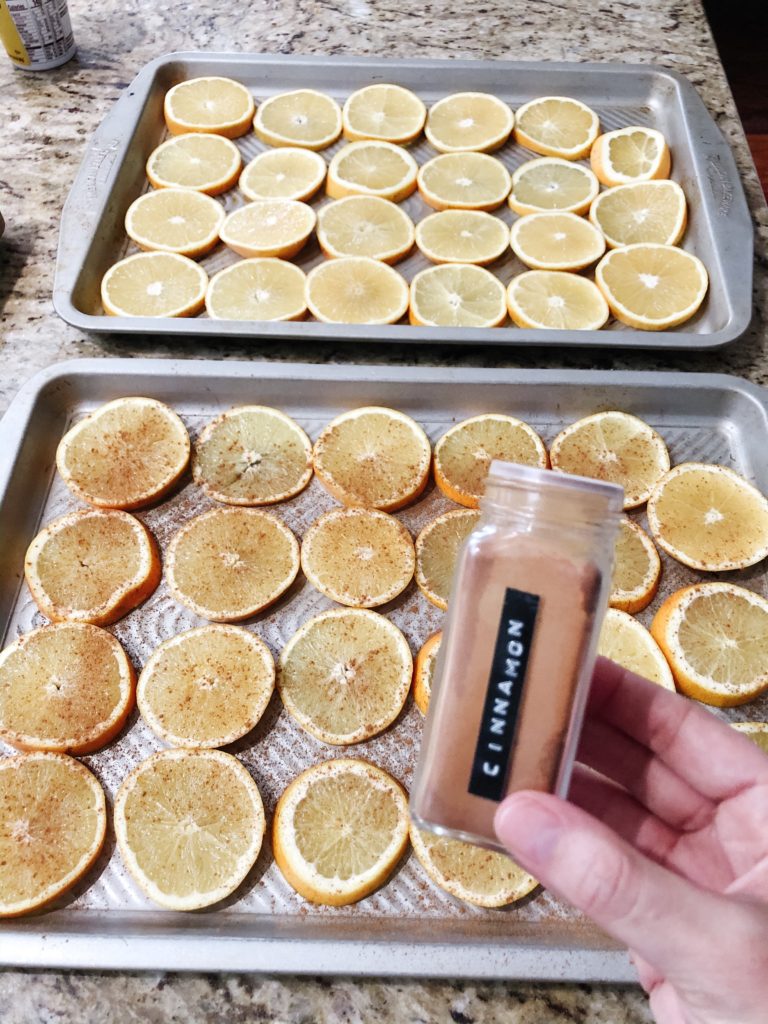
I started by slicing all my oranges about 1/4″ thick, in hindsight I should have probably cut them a little thinner … they will dry faster and the garland wont be as heavy.
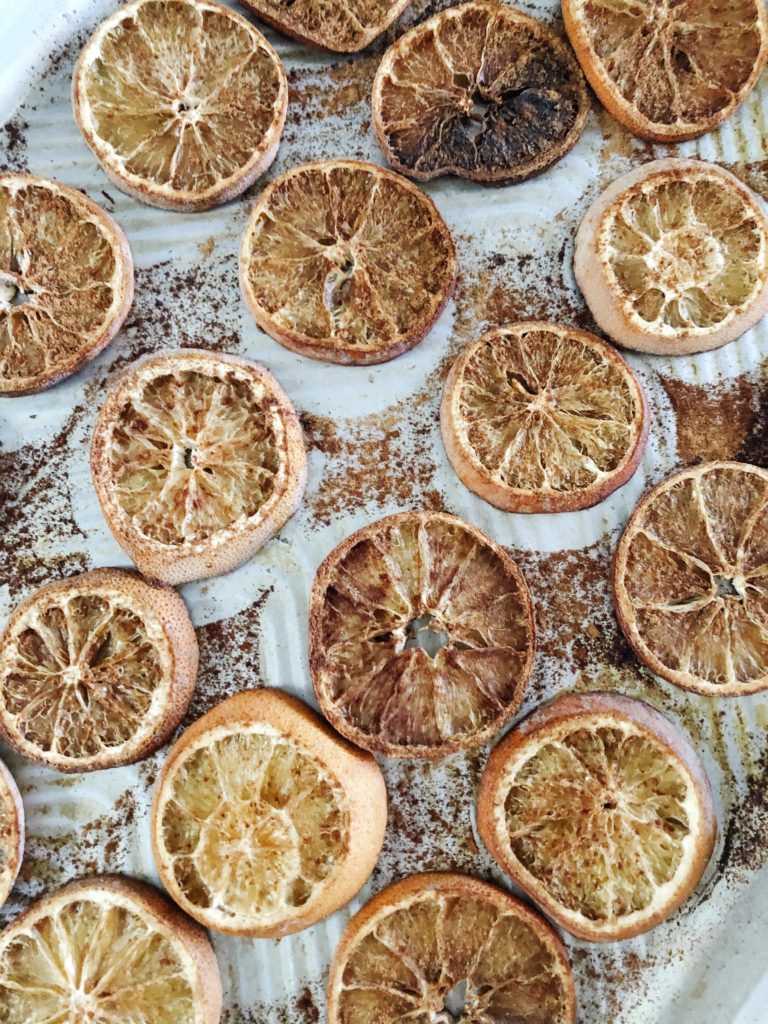
I laid them all out flat on greased cookie sheets and sprinkled cinnamon on them for color and aroma. I put them in the oven at 200 degrees for four hours. After those four hours they weren’t quite as dried as I’d like them to be (most likely the thickness of the slices) so I put my oven on the convection setting at 275 degrees for another hour and a half.
That seemed to do the trick! I let them sit over night (just because I didn’t have the time to make the garland then – if you have the time, no need to wait overnight)
I gathered all my materials and strung my needle and thread, tying a little wooden bead at the end to hold everything in place. Use the thickest thread that will fit through the biggest needle you have (or buy).
I started by using a haphazard pattern but found that the best look was to use at least 4-5 beads in a row, followed by some bay leaves, the and orange and repeat.
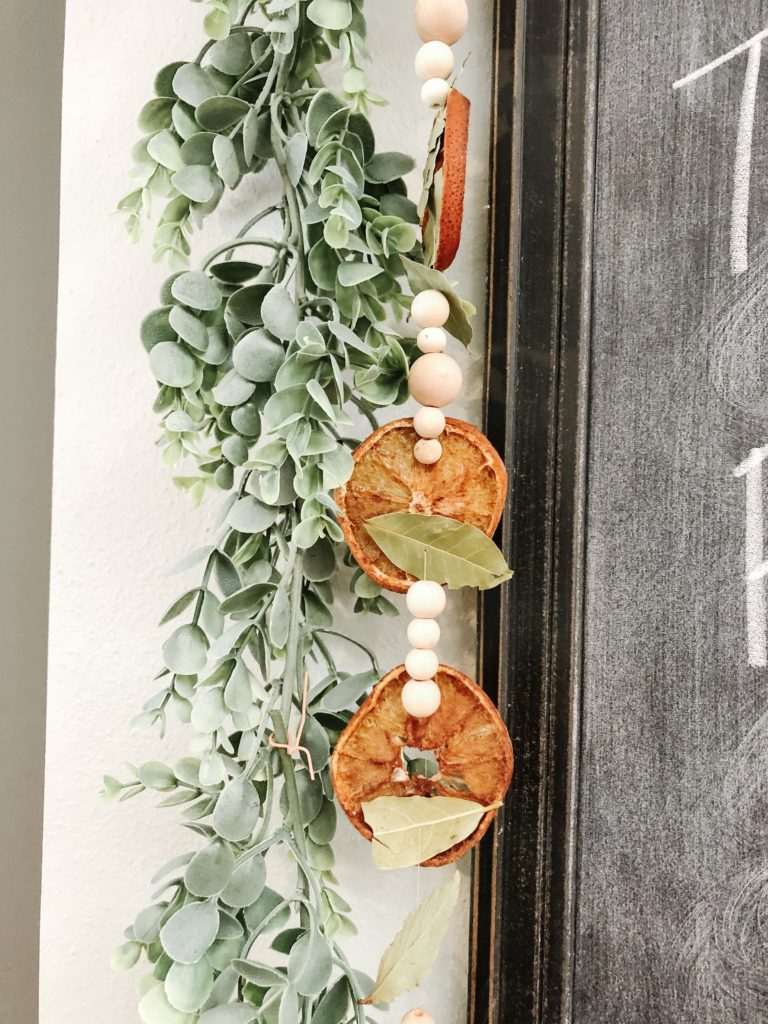
I loved the way it turned out and it was also quite easy, kids that enjoy crafting would easily be able to help.
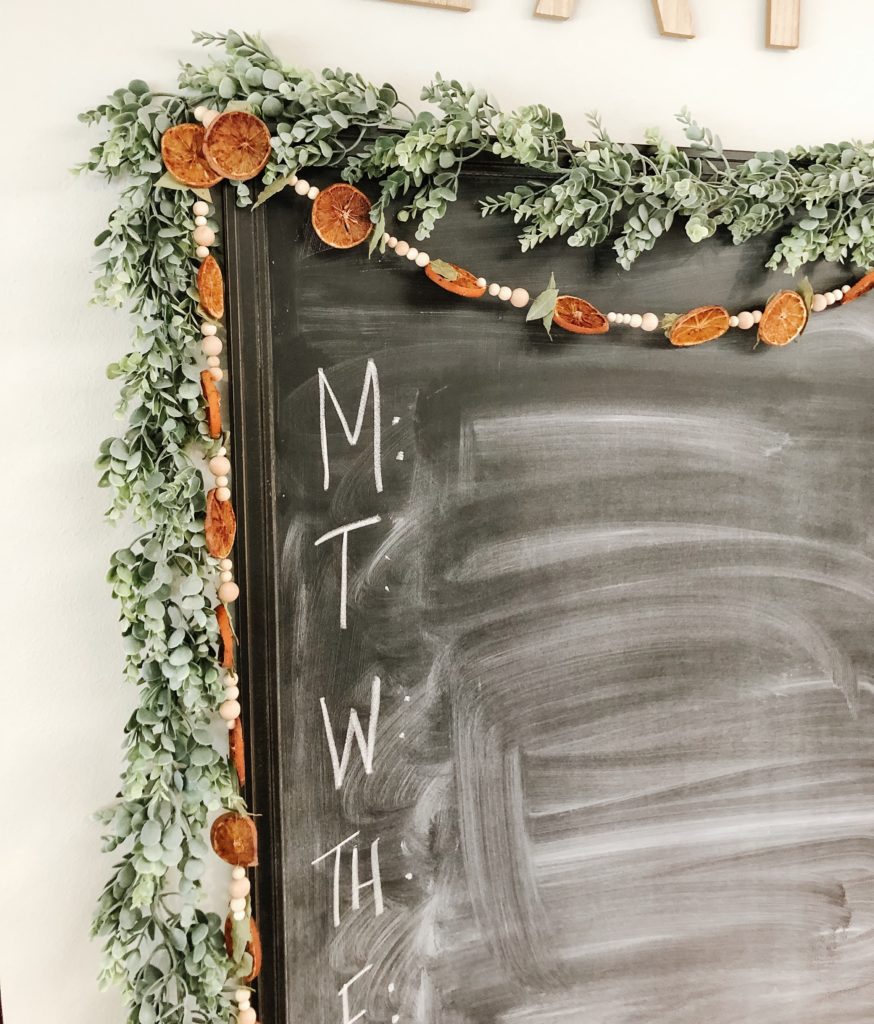
I hung it with some faux greenery that I found at Hobby Lobby – HERE.
If you make the orange garland … tag me here! I’d love to see how yours turned out 🙂
diy decor diy garland do it yourself dried orange garland dried oranges fall decor fall decorations fall diy

