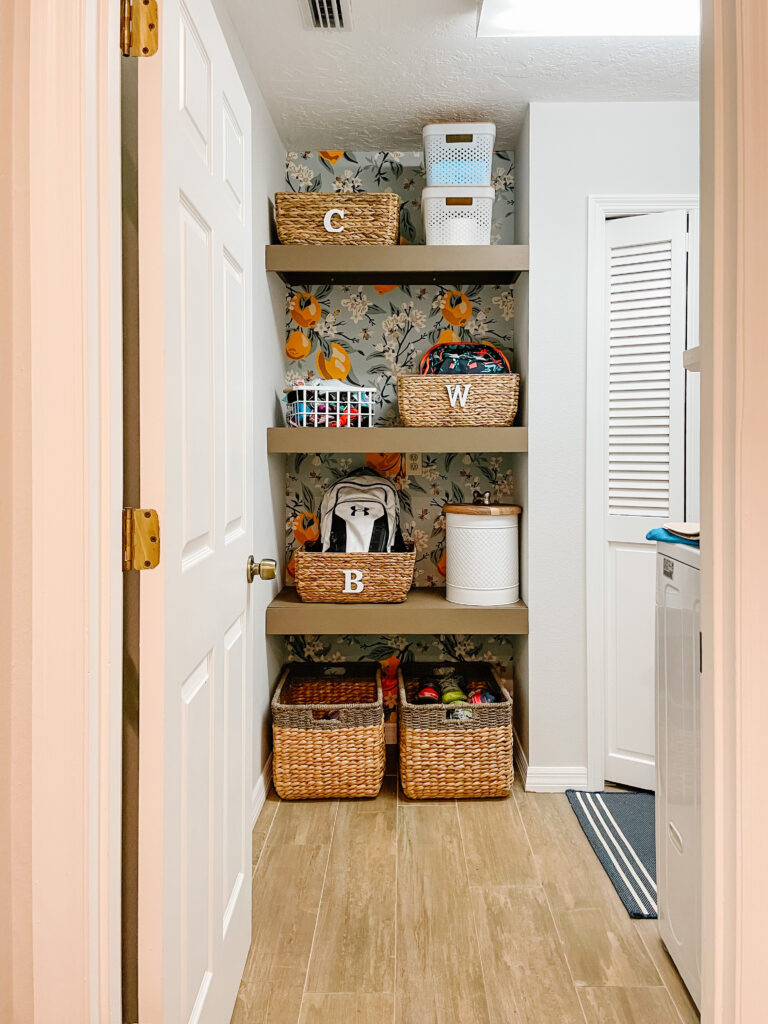

I was recently helping my friend with a project in her home. I was helping her because she had a vision for something in her laundry room and she really wanted to get it done. Her husband, who works in construction, is so bogged down with work (and kids sports) that she knew he wouldn’t be able to get to it anytime soon. Cue … my new series.
I’ve been contemplating calling this series “We’ll just figure it out” but am open to suggestions. You see, I have a good enough knowledge of how to do DIY things, and god knows I’ve consumed enough videos of different projects on Instagram. However, I don’t know everything … so why not “figure it out” as I go along. Hoping I have enough friends that trust me with their projects. hint hint
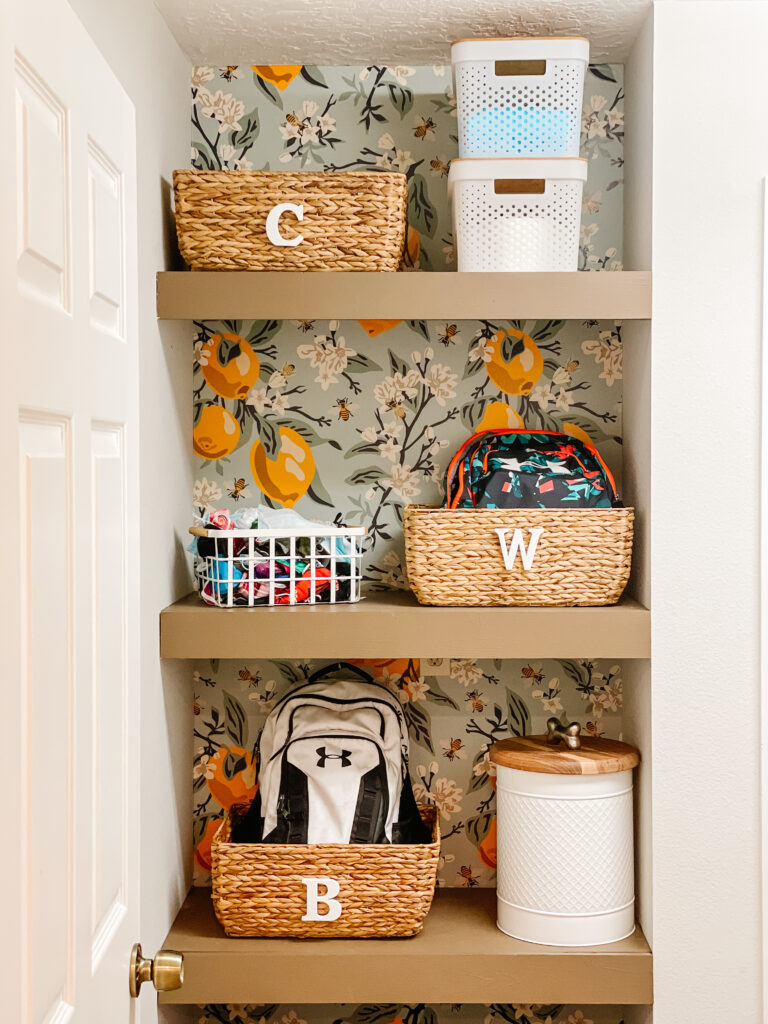
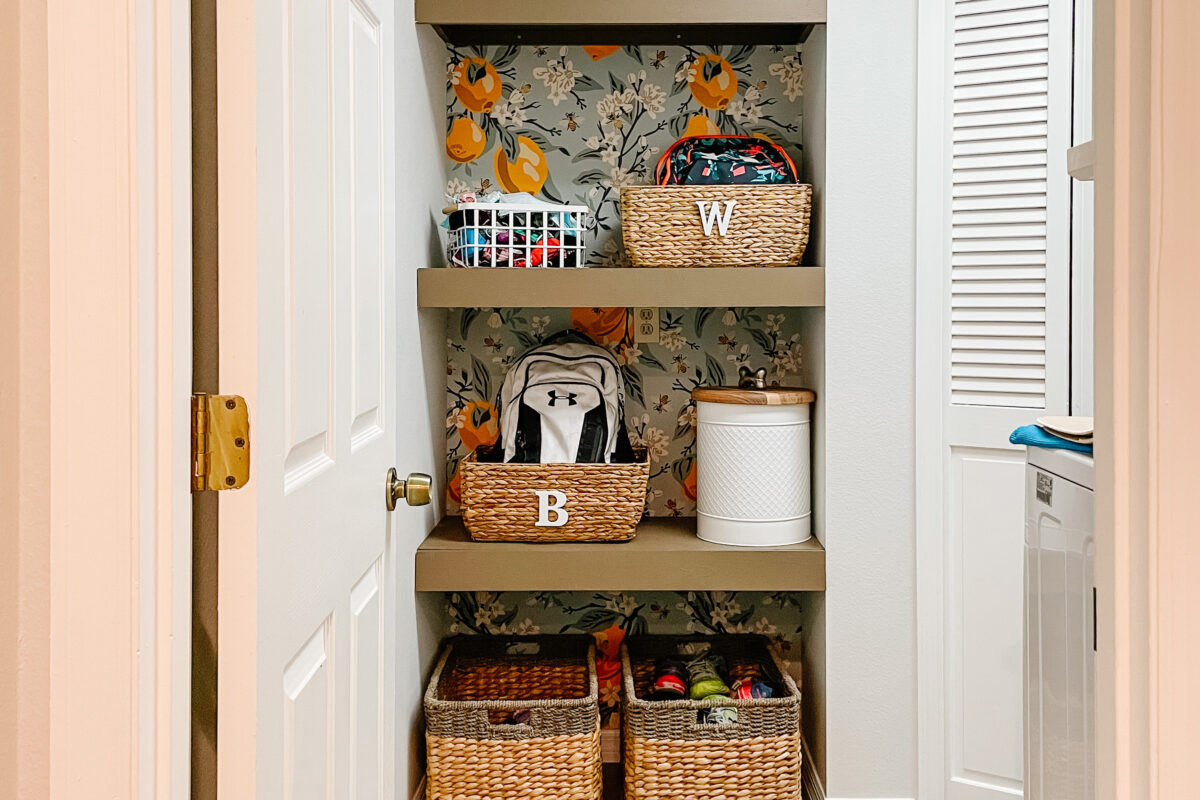
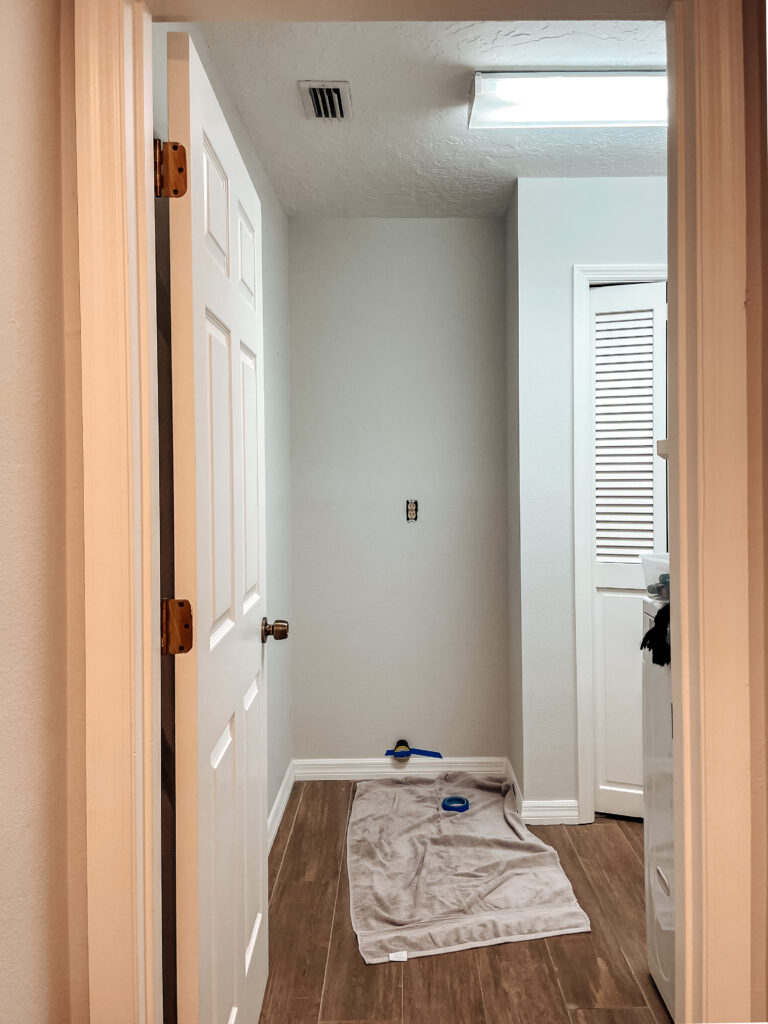
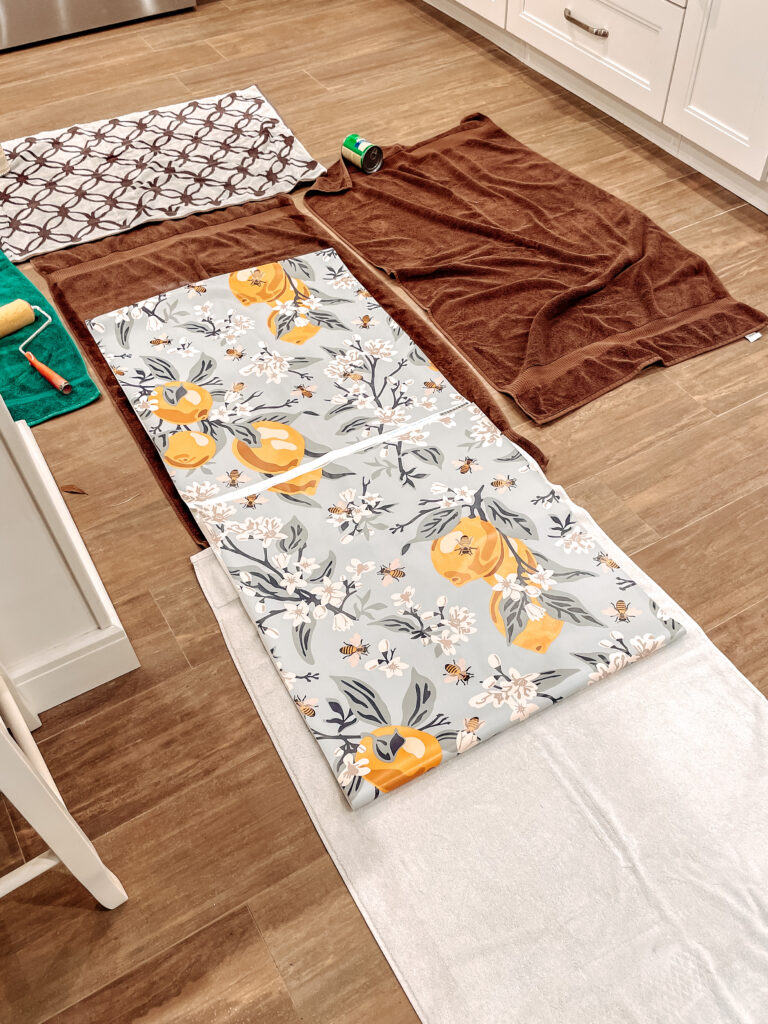
My friend Bridgette had and idea for this nook in her laundry room, to install wallpaper on the back wall and then do floating shelves. This is where her family enters the home and she really needed a drop station for all the things. I have done wallpaper before so that part was easy. The best part was she really loved this wallpaper I had been eyeballing on the Spoonflower website so we went for it!
I will do a separate post completely dedicated to wallpaper soon. For now here are my tips:
- Use pre-pasted wallpaper. While some people make peel n stick wallpaper look easy (I’m talking about you Nesting With Grace) it really is difficult to maneuver, especially for first timers – have you ever contact papered your shelves or drawers? Enough said.
- Pay attention to how often the pattern repeats itself when calculating the amount you’ll need. Also, I have yet to really figure out how to properly calculate this. I will research and get back to you.
- DO NOT assume your walls / ceilings are perfectly square, they are not, and you will figure that out quickly. Use a level. Use a level. Use a level.
Anyways. Once the wallpaper was up and trimmed we got started on the shelves. Now, these I have never done but I’ve seen them done enough times that I knew I could “figure it out”
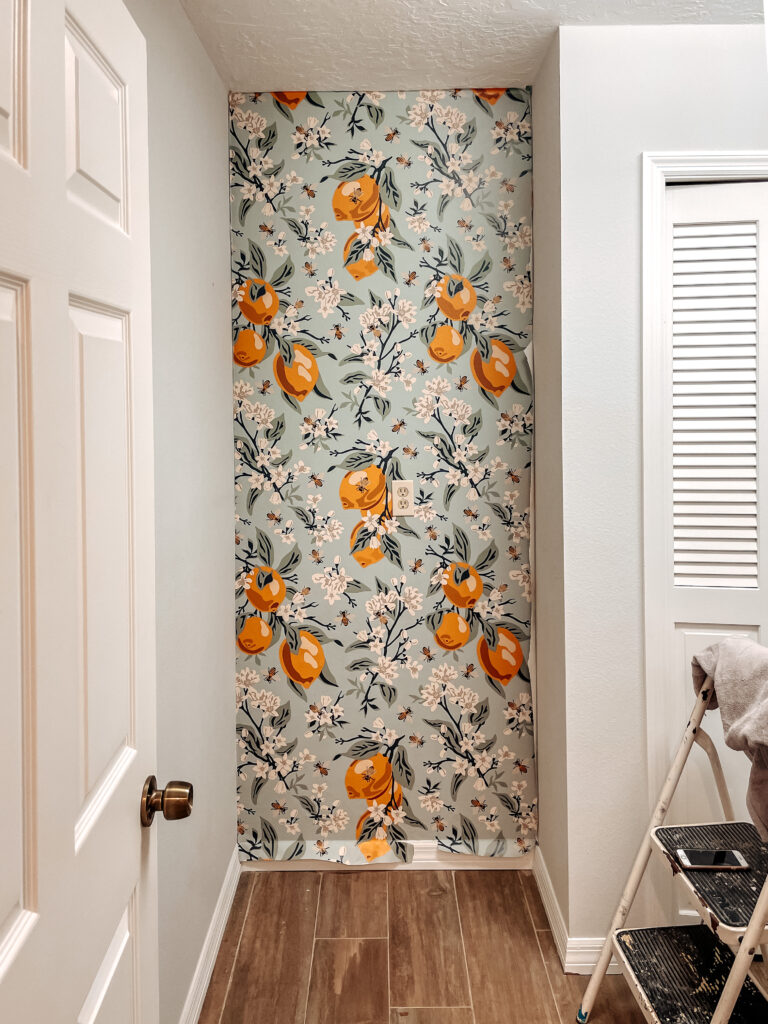
I started with 1×2’s to create the supports, being sure that I screwed them into studs and they were level. I started with the back support and then the two side ones.
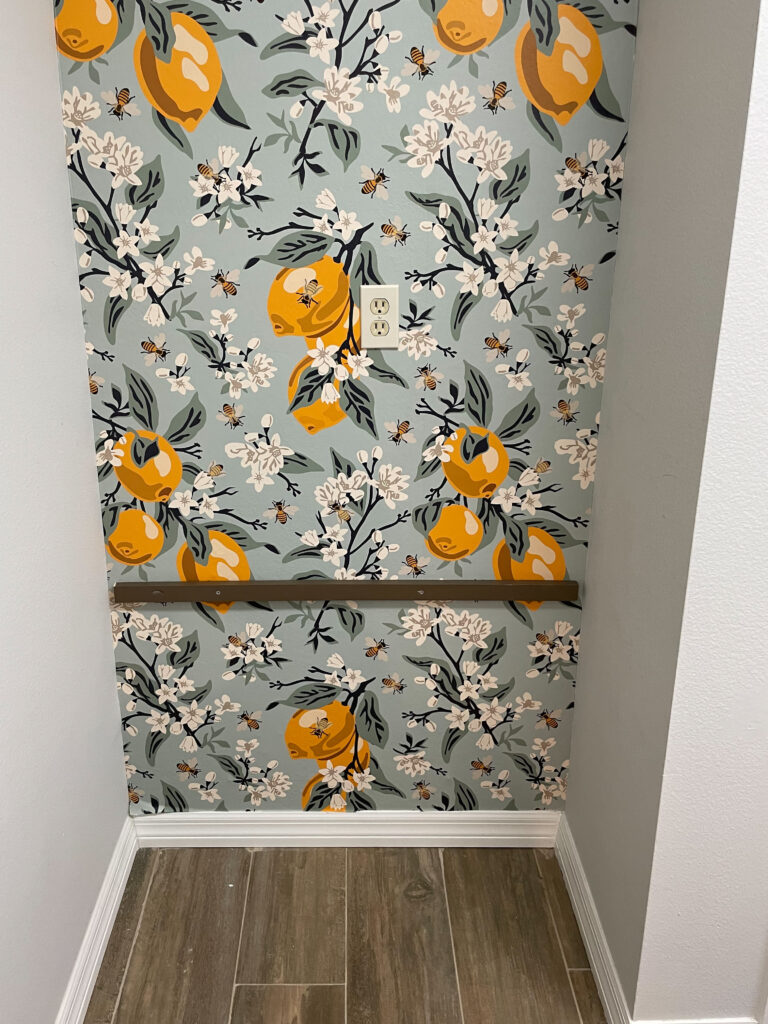
Then we had plywood (the nice kind) cut to the size of the opening … we had them cut at Home Depot. Most of the time they will do these cuts for free as long as there is not too many. Sometimes, or some locations, may charge you a per cut price.
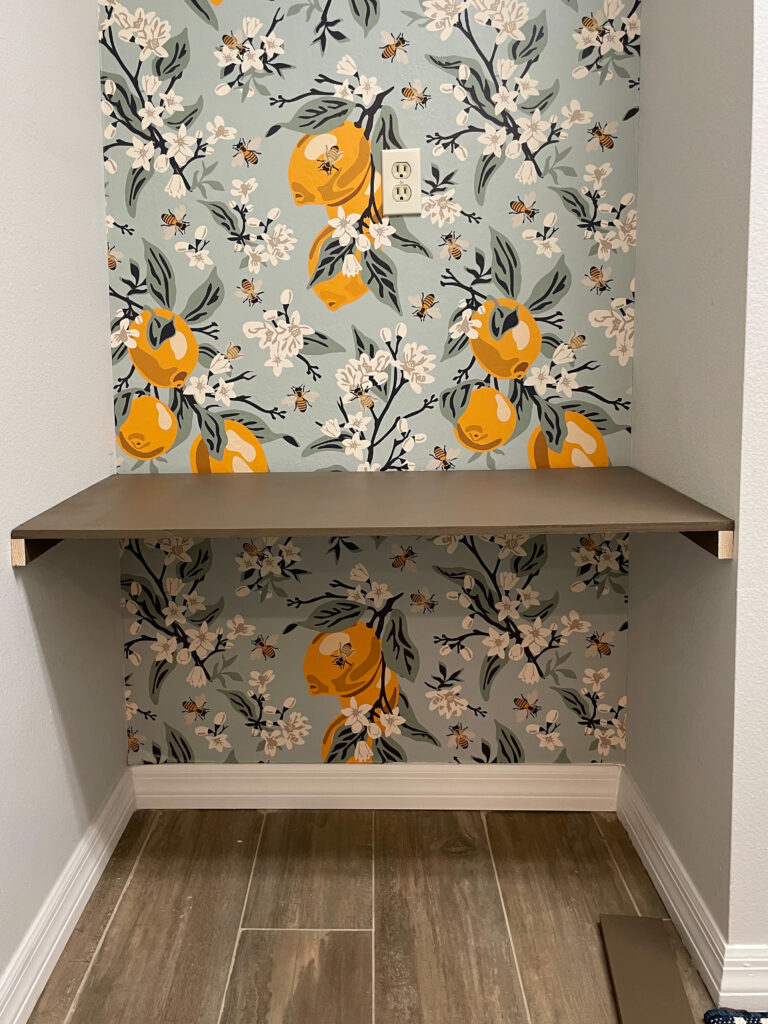
We laid that on top of the supports and nailed them into place. At this point I also taught Bridgette how to use a nail gun, she loved it! Now when doing these measurements make sure you take into account the front panel that will cover all this up and make it look “floating” in our case I made everything stop 3/4″ shorter than the edge of the wall. This way when I put the 1 x 3 up to it, it because flush with the edge.
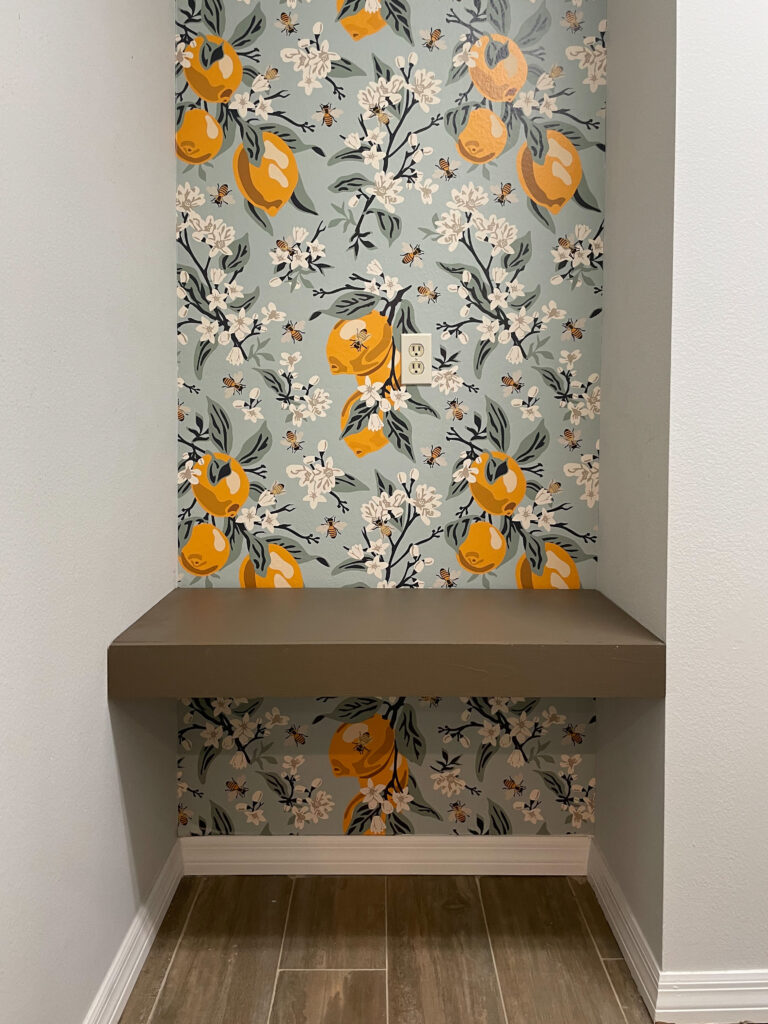
Now, realize that if you do these shelves high up, where you can see underneath them you will see the supports. you can hide this by putting a bottom support and another layer of plywood on the bottom as well.
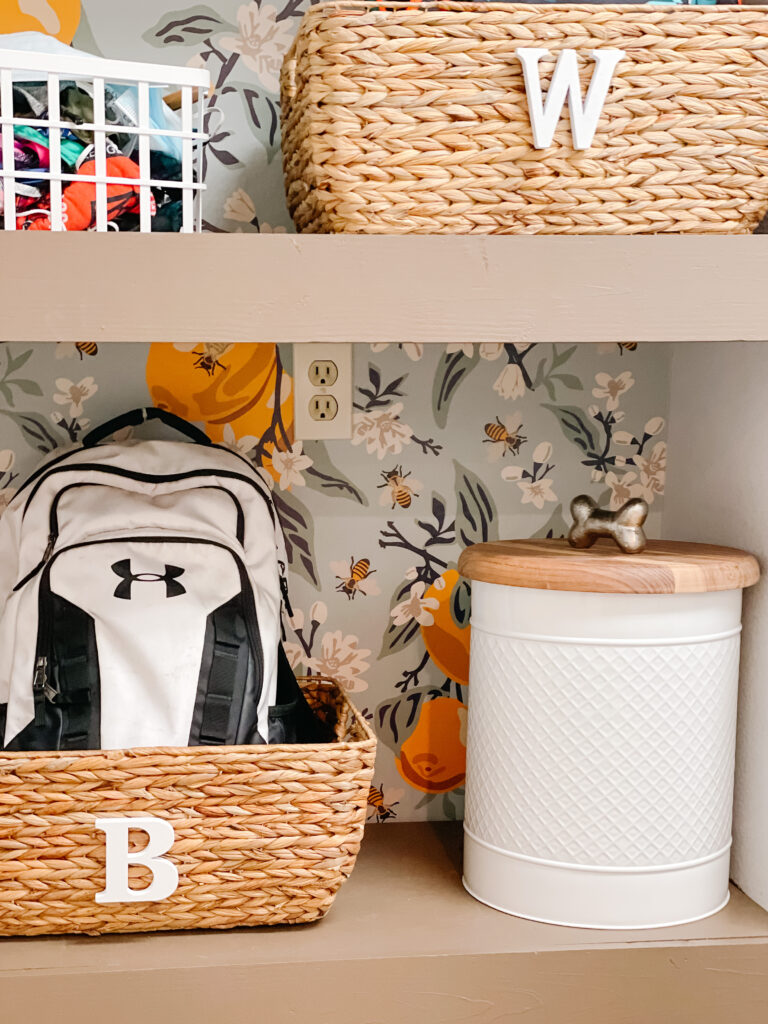
Bridgette shopped for some great Home Good Finds and styled her shelves to not only fit the needs but to be cute as well!
If you try these floating shelves or wallpaper … Tag me! I’d love to see!
Instagram: @jessica.dawn.home | Facebook: Jessica Dawn Home

