[…] Painted Stencil Floors Blog Post Utility Sink Refresh Blog Post DIY Concrete Countertops Blog Post […]
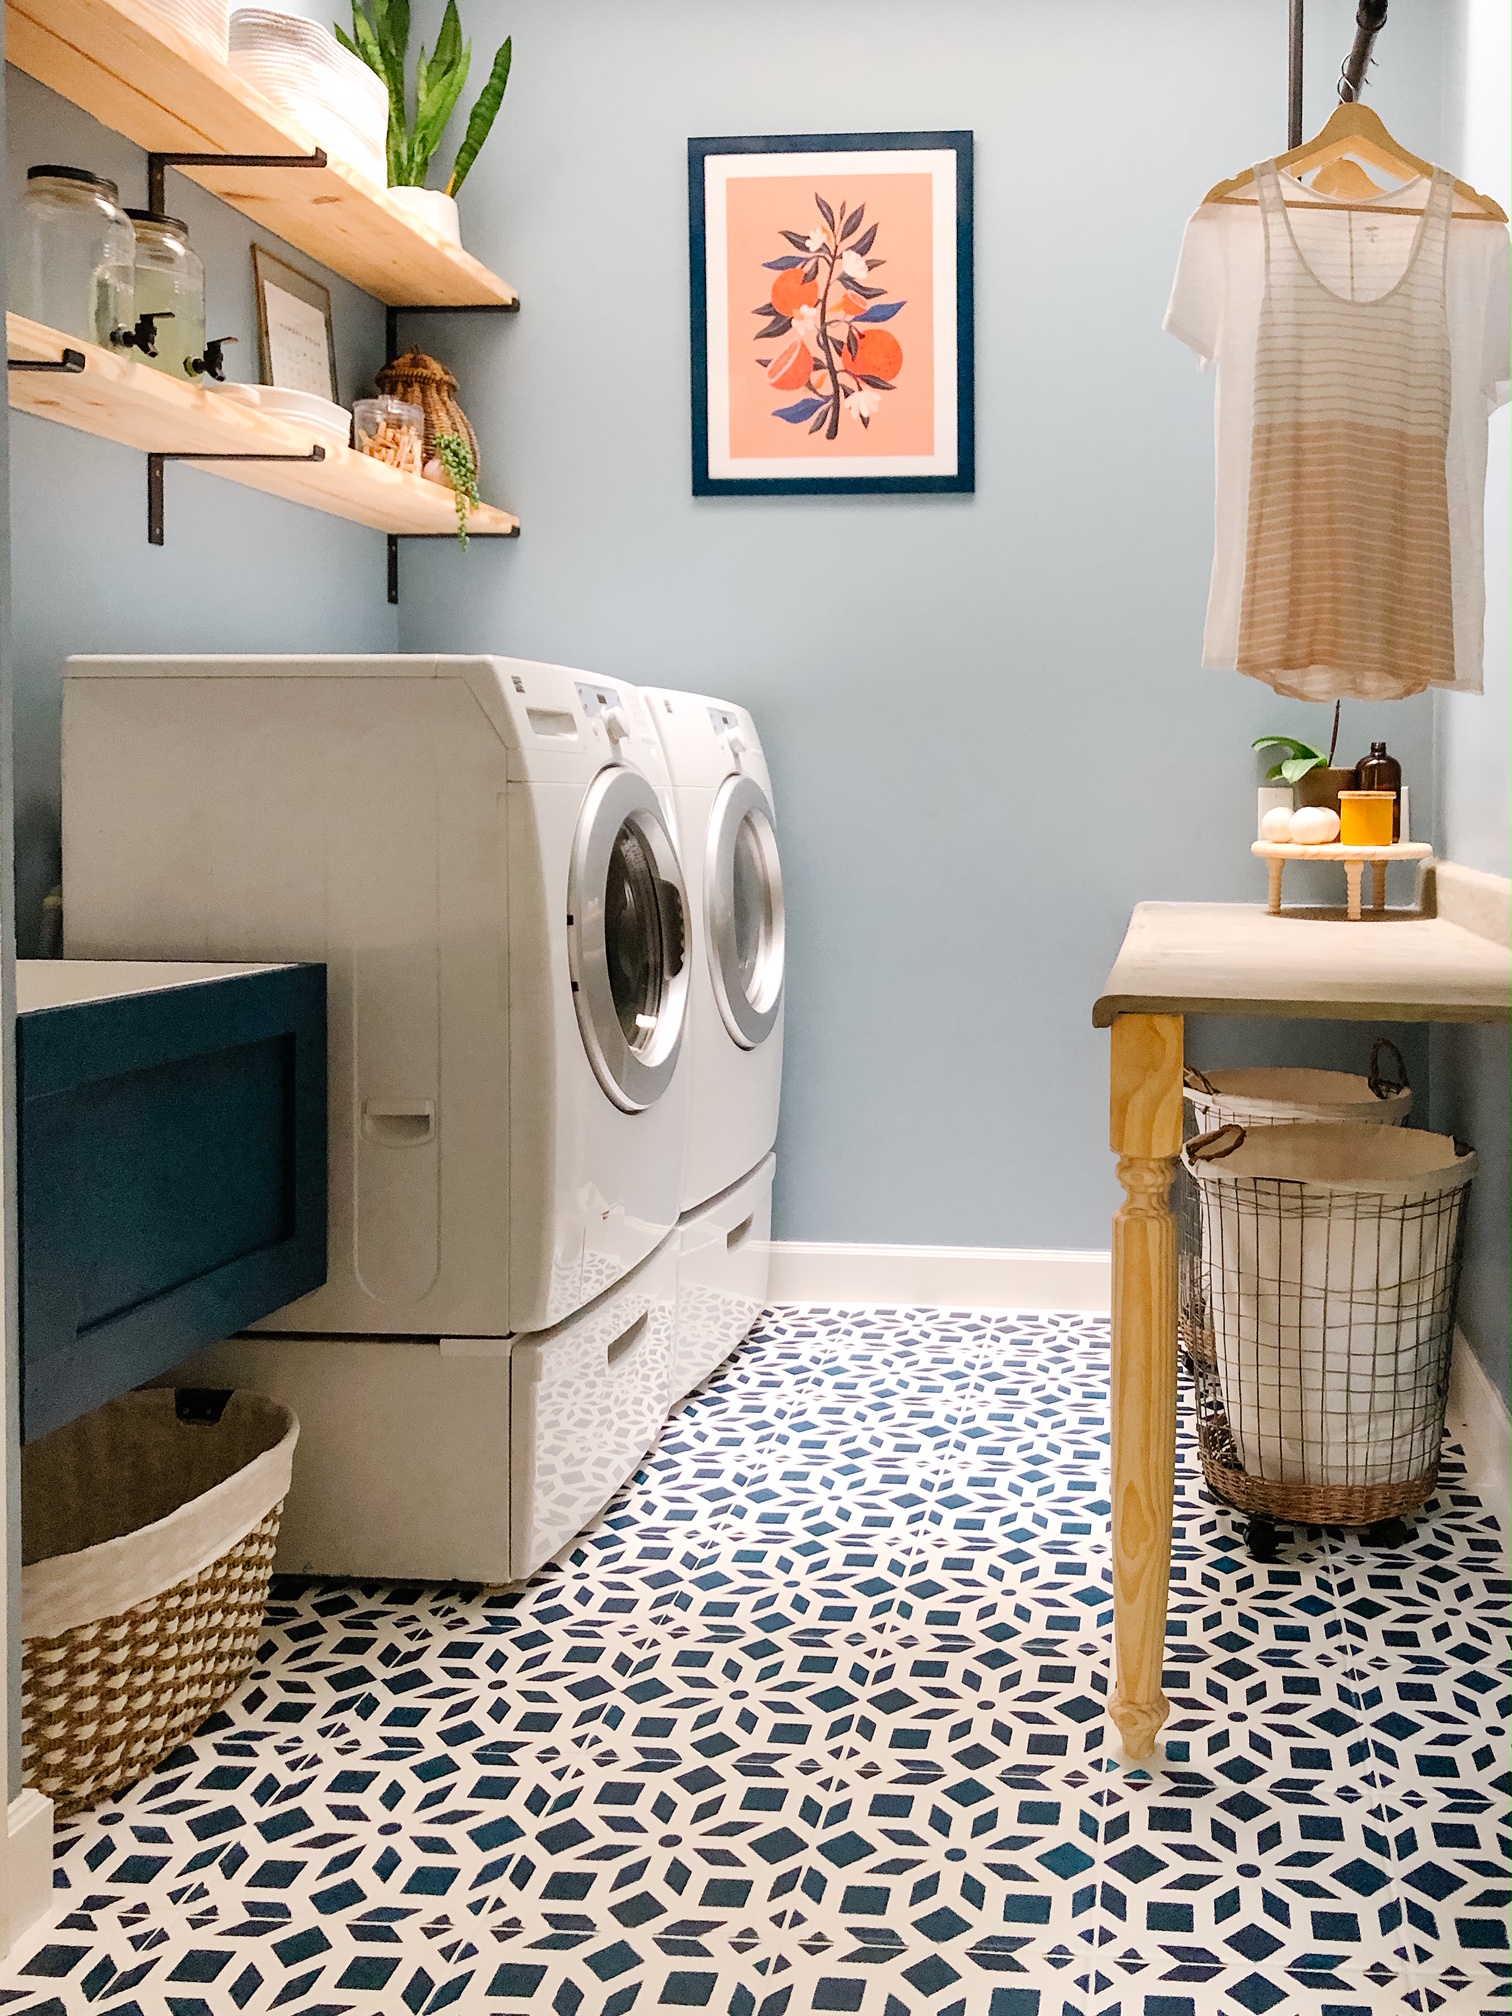

I’ve known for some time that I wanted to try painting the tiles of my laundry room floor. Thinking about this got my wheels turning to also just revamp the entire laundry room. Which I have been doing for the last month.
I saved the floors for last as to not ruin them while doing everything else. So far we’ve DIY’ed some Concrete Countertops, encased our Utility Sink, hung an industrial pipe drying rod, and installed floating shelves.
But lets talk about the floors.
I went with the Low Lustre Enamel Porch and Patio Paint by Behr and the Kerala Stencil by Cutting Edge Stencils.
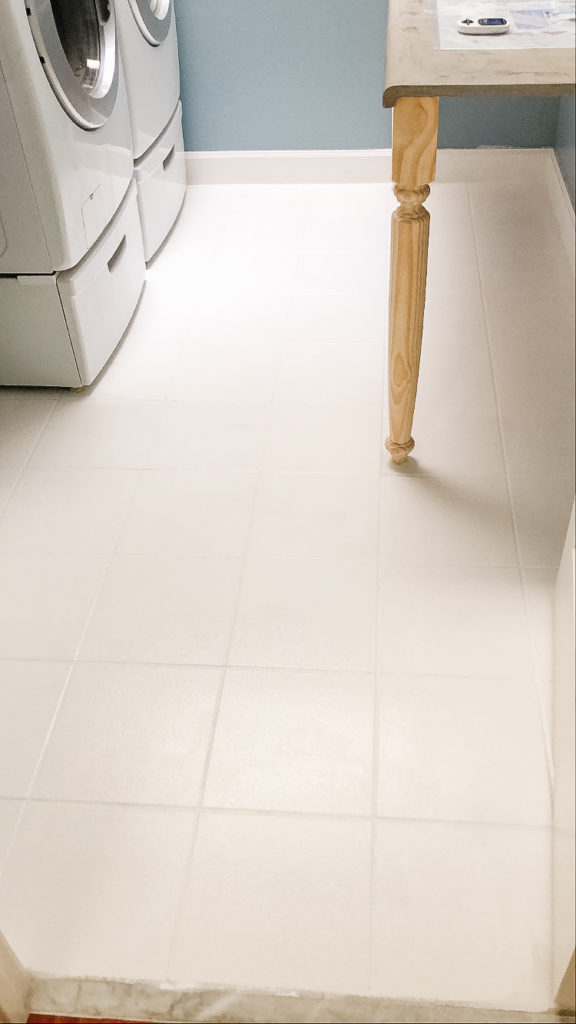
I started with a base coat of Polar Bear White by Behr with two coats. Our tile was white so this part wasn’t a huge transformation. However, it did make everything clean and crisp – covering the old dirty grout. Even if you don’t stencil – painting the floor alone really freshened things up.
The stenciling took some logistiscs to figure out. Of course I started with all full tiles that had nothing obstructing the stencil. One of the best things about this stencil is it created guides so that you knew exactly where to line up your next tile. Although it may appear to be square and level, chances are your current tile is not, I wouldn’t rely on using just them as your guide.
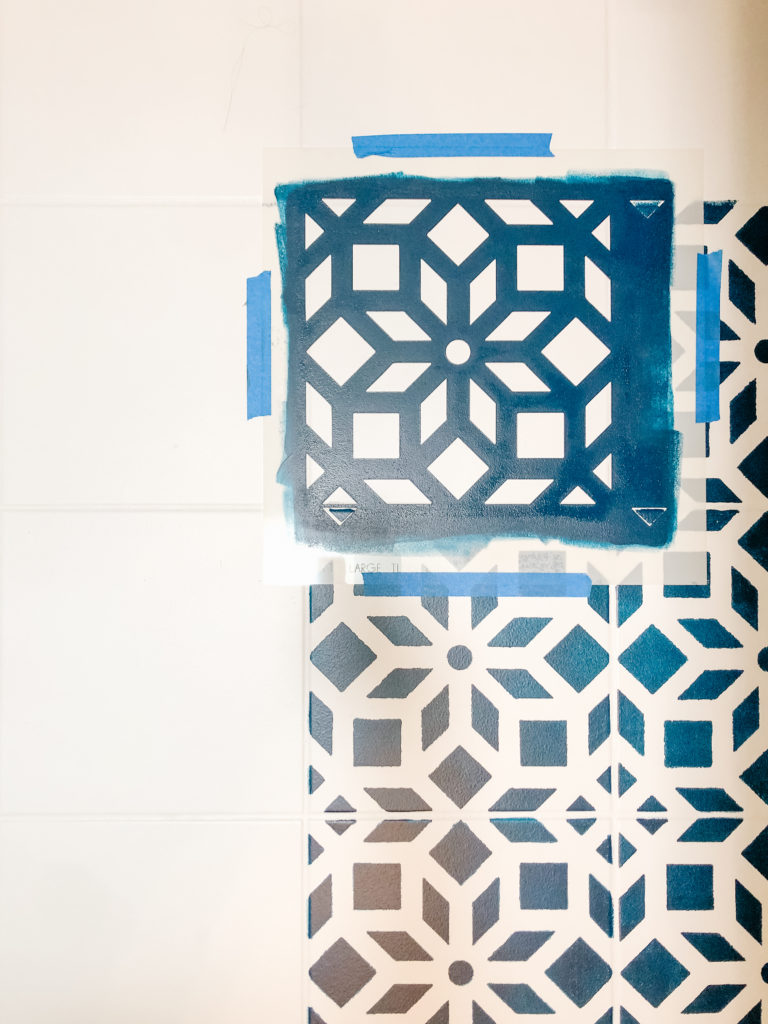
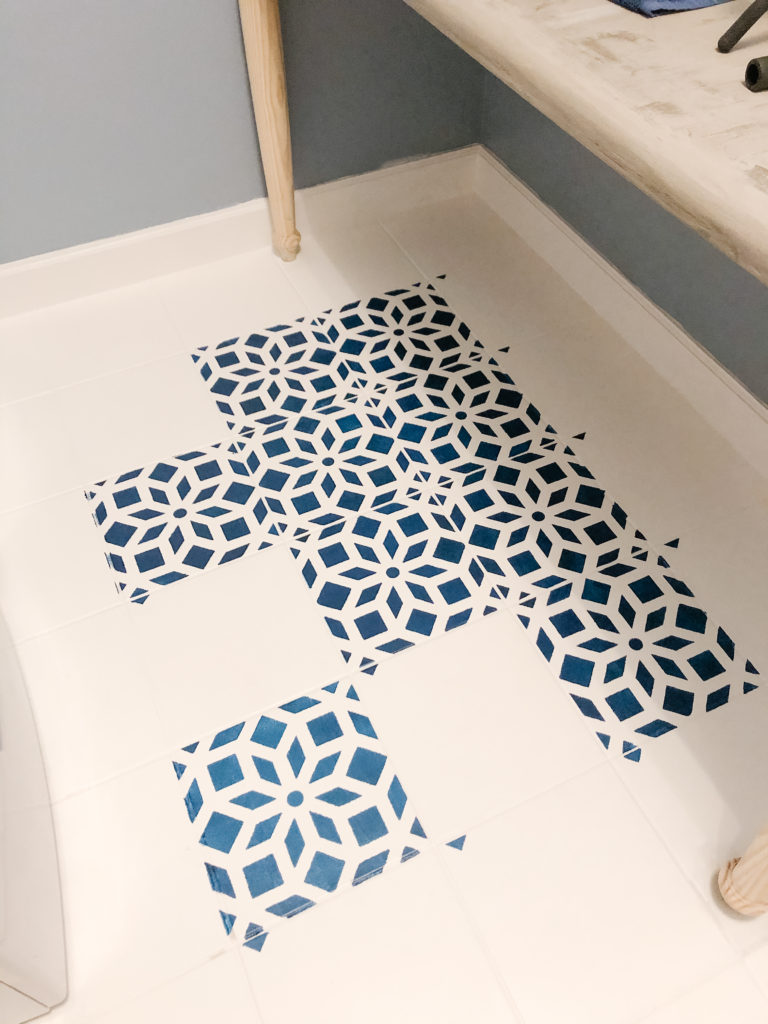
I did choose a paint that required two coats to get the color I wanted, especially over white. This made my process take a little bit longer because I would have to roll my stencil, wait for at least 4-5 min for that coat to dry somewhat and then come back and roll the second coat. I feared that if I did it all then tried to come back and re-lay the stencil it would not match up. Just something to keep in mind depending on the kind and color of paint you use.
When it came to the edges I ended up bending the stencil and not fully going to the edges. I actually preferred this look with a bit of a boarder around it all.
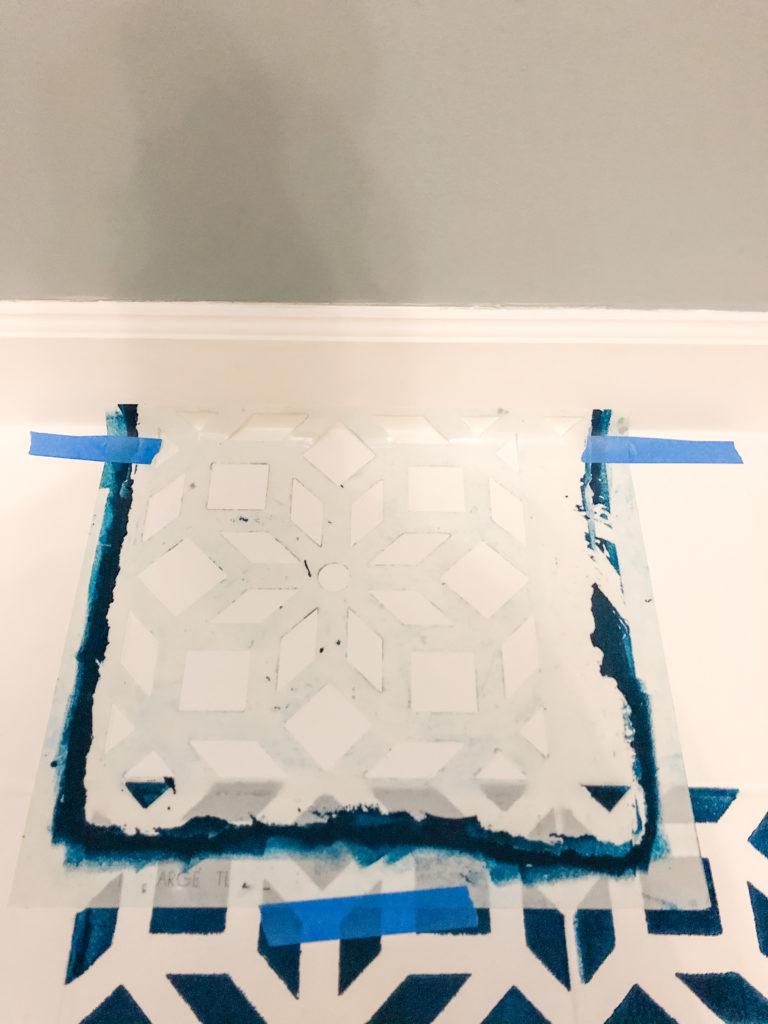
Then I had to get creative about cutting the stencil to fit into the small places. Which brings me to the main point of this whole blog. I have a list of things to note. Some tips, some things I’d do differently and some things to keep in mind.
Overall it was a fun project, a learning experience and a great transformation. As long as you take your time and don’t expect perfection – anyone could do this.
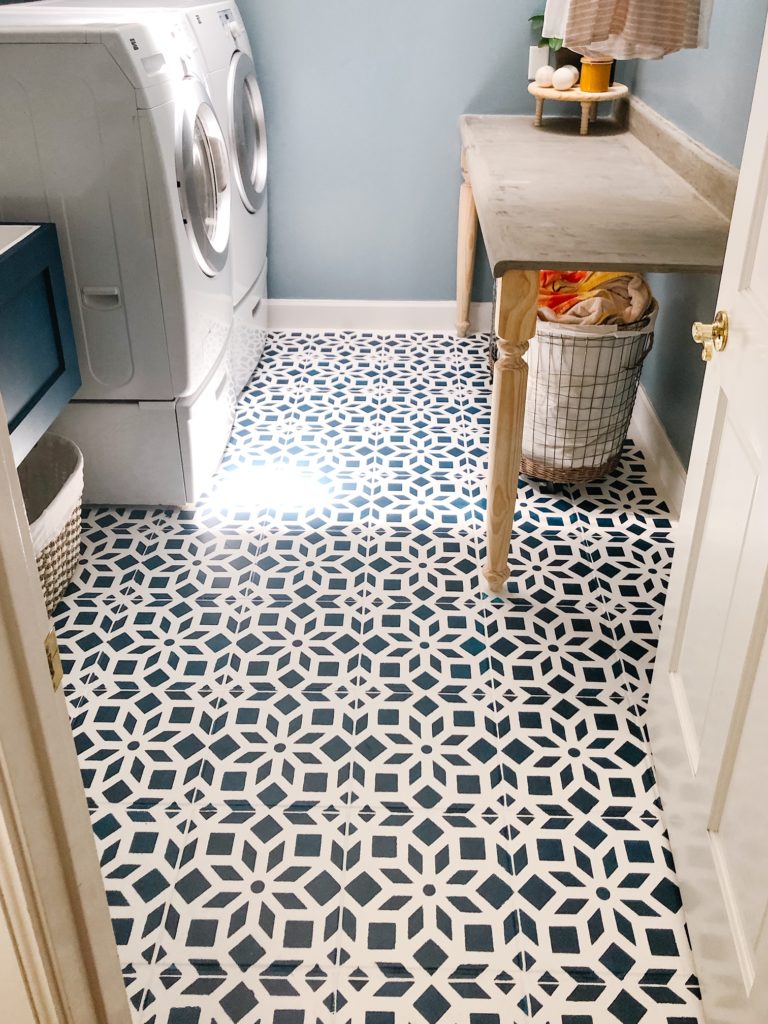
If you paint your floors … Tag me! I’d love to see!
Instagram: @jessica.dawn.home | Facebook: Jessica Dawn Home
diy floors diy tile floor painted floors painted tile floors stenciled floors
[…] Painted Stencil Floors Blog Post Utility Sink Refresh Blog Post DIY Concrete Countertops Blog Post […]
