[…] The kitchen is a nice size, lots of storage. I would like to take those upper cabinets in the front down at some point to open it up a bit and maybe try the DIY Concrete Countertops […]
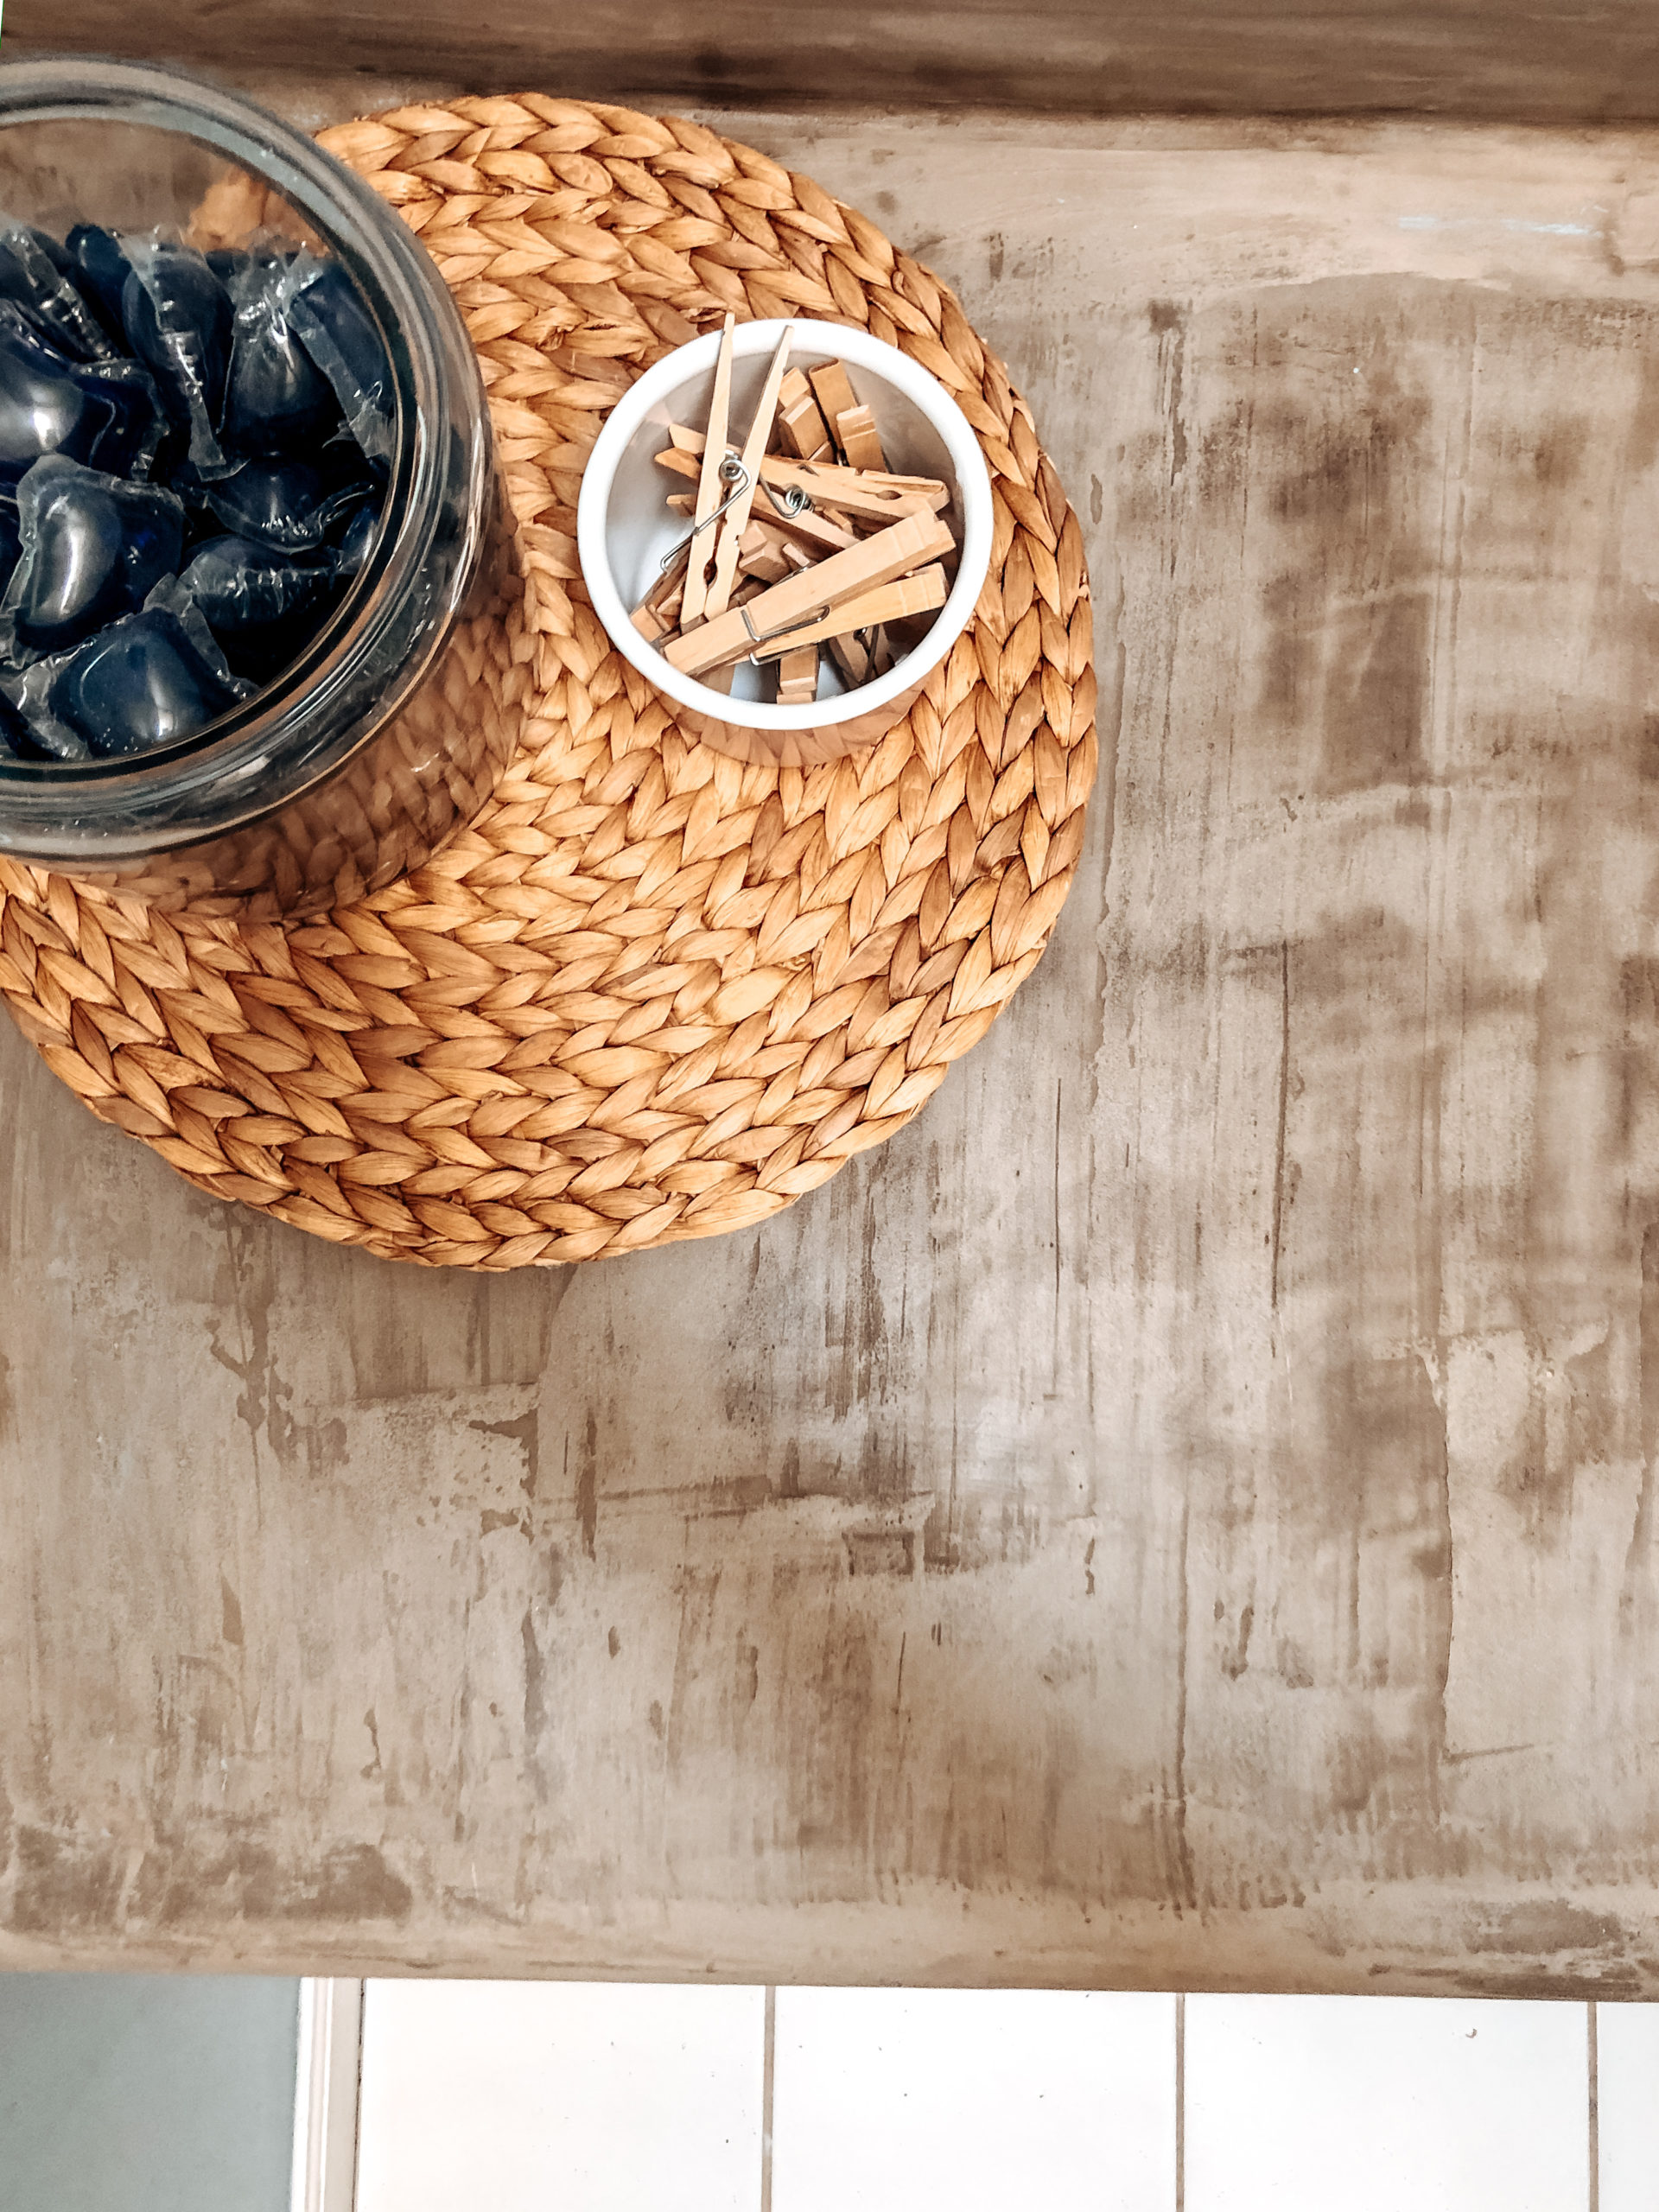

One of the many projects I had planned for my Laundry Room DIY Reno was to try out the do it yourself Concrete Countertops. The general idea is that you coat your existing countertops in concrete to give the appearance that it is full concrete.
I researched quite a few blogs and youtube videos and gathered enough information that I felt confident enough to do it.
Going into this project I knew I wanted a pretty industrial look, I didn’t want them perfect and glistening … because thats not really how I view concrete. Anyways, I mention that so you know that you can make yours not as “rough” as mine. Its all in the sanding.
Lets get started, you will need:
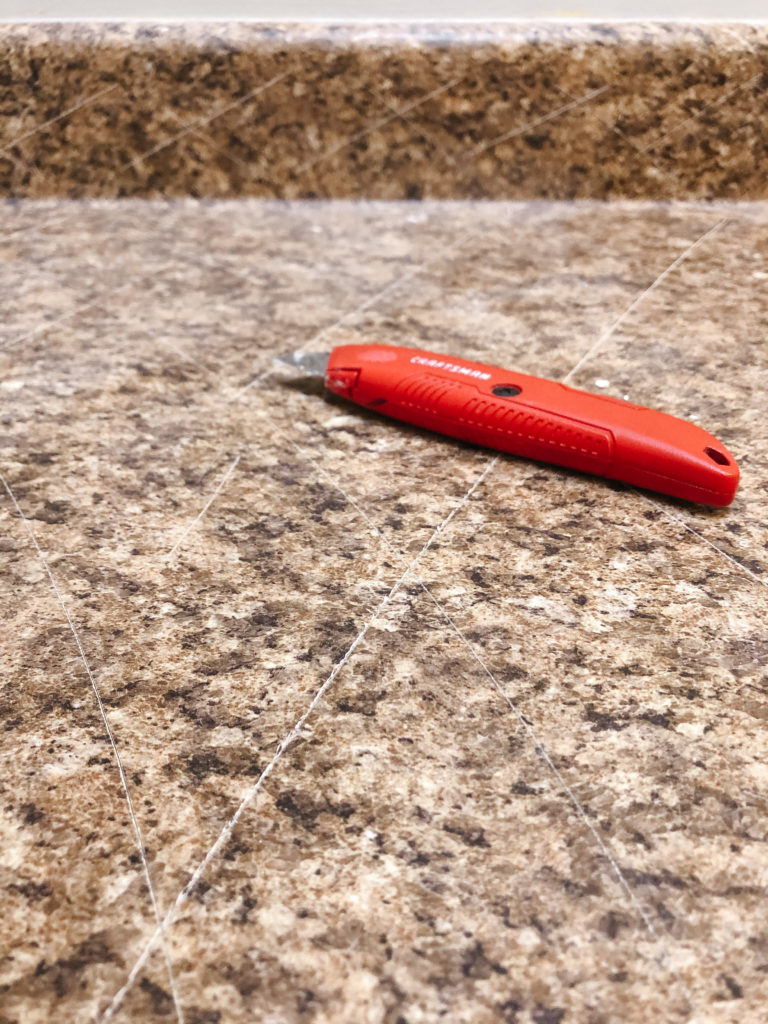
Prep your surface by “scarifying” it – basically, rough it up a bit. I was covering a laminate / formica kind of counter so I used a utility knife. I tried to sand it, but it did nothing.
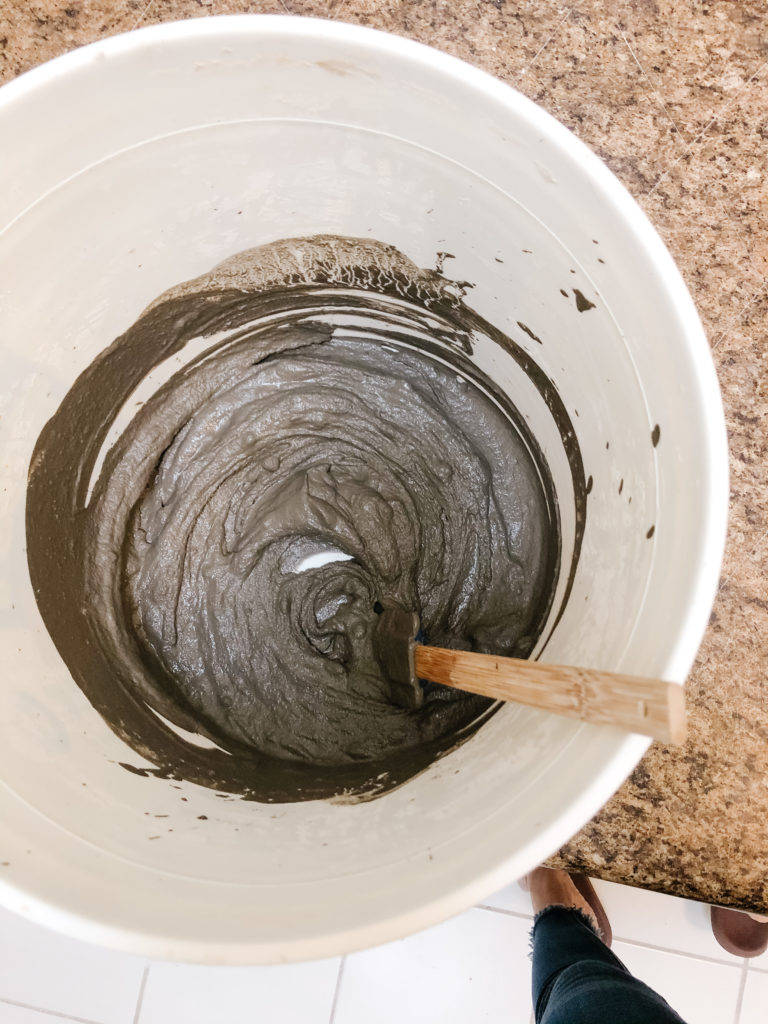
Next you mix up your concrete mixture. I purchased one 7lb box of the Henry’s Feather Finish and that was all I needed for the size of my counter and to do three layers.
The instructions say 2 parts dry mix and 1 part water.
I started with 2 cups of dry mix and thought after seeing it in the bucket that it wasn’t going to be enough so I put in 3 cups. Then I added the water – 2 cups. Now I know this is not the right ratio, now. I’m terrible at math and didn’t figure out that it should be 1.5 cups until it was too late. You know what though, it turned out perfect anyways. So.
3 cups mix and 2 cups water
I honestly tried a few different tools to put the mixture on my countertops but over all found that a spatula was helpful to get the mixture out of the bucket on on to the surface. A small scraper was helpful to smooth out the long flat part and my hand was what worked best on the backsplash.
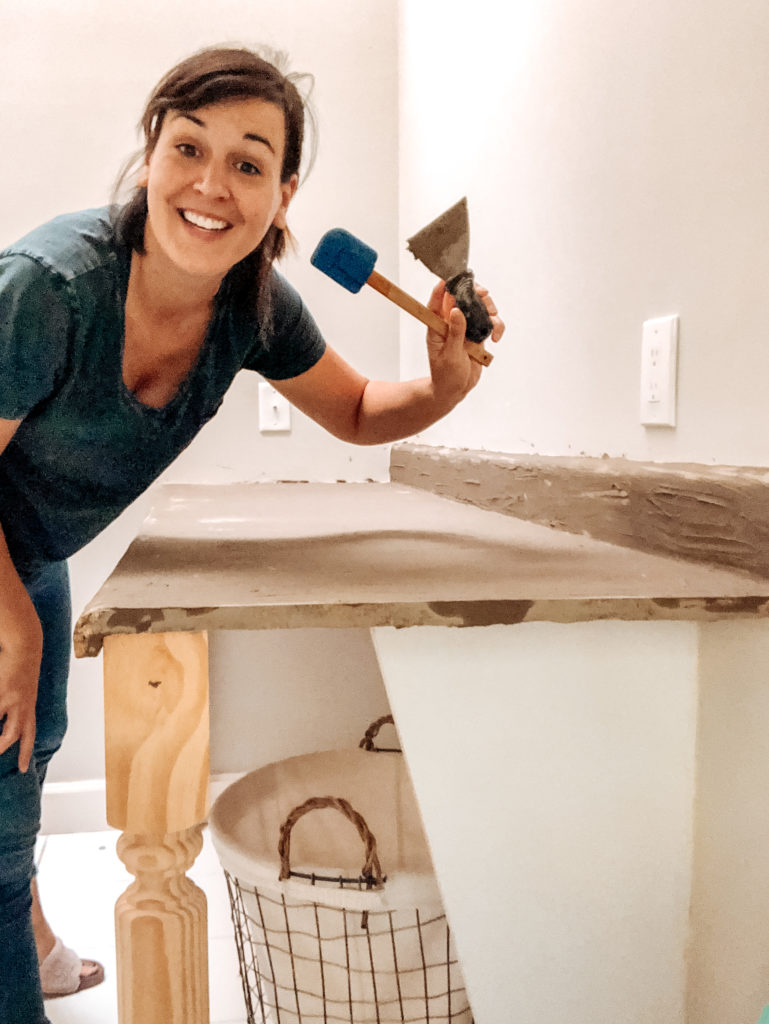
You have to let each layer dry for 24 hours and then sand. I used a mouse sander on mine, and like I mentioned before – this is where you are going to either make it pristine or you can leave a little roughness for character. Completely up to you.
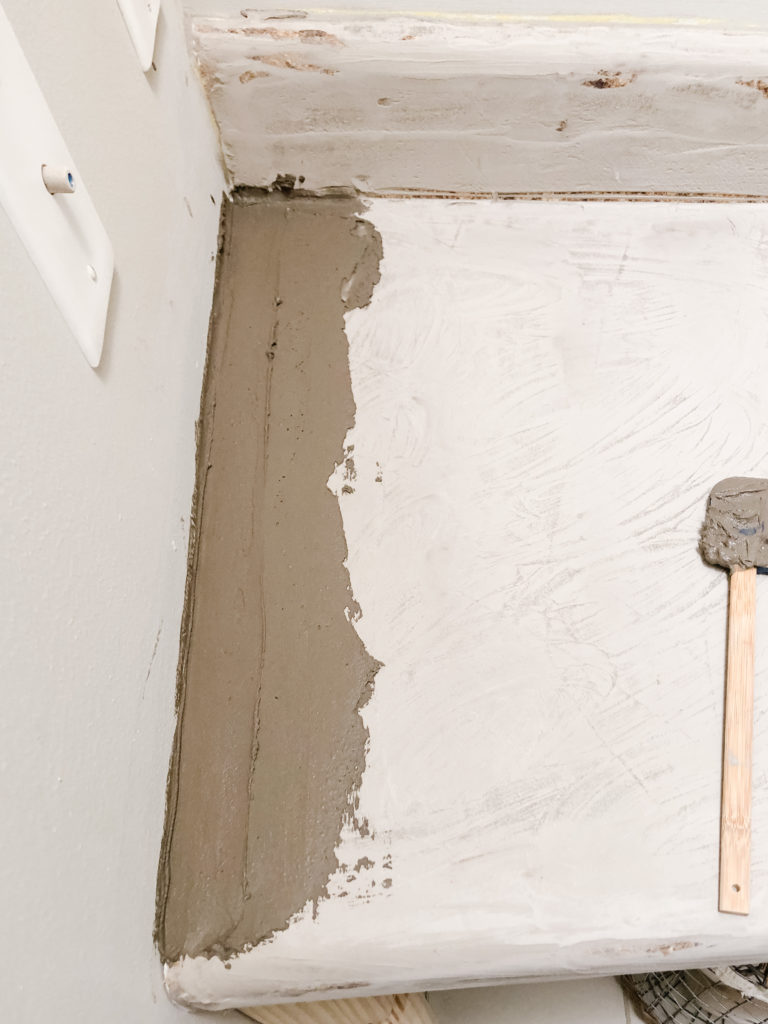
I went about my layers like this.
Again, after each layer, let it dry for 24 hours and sand it down before adding the next layer.
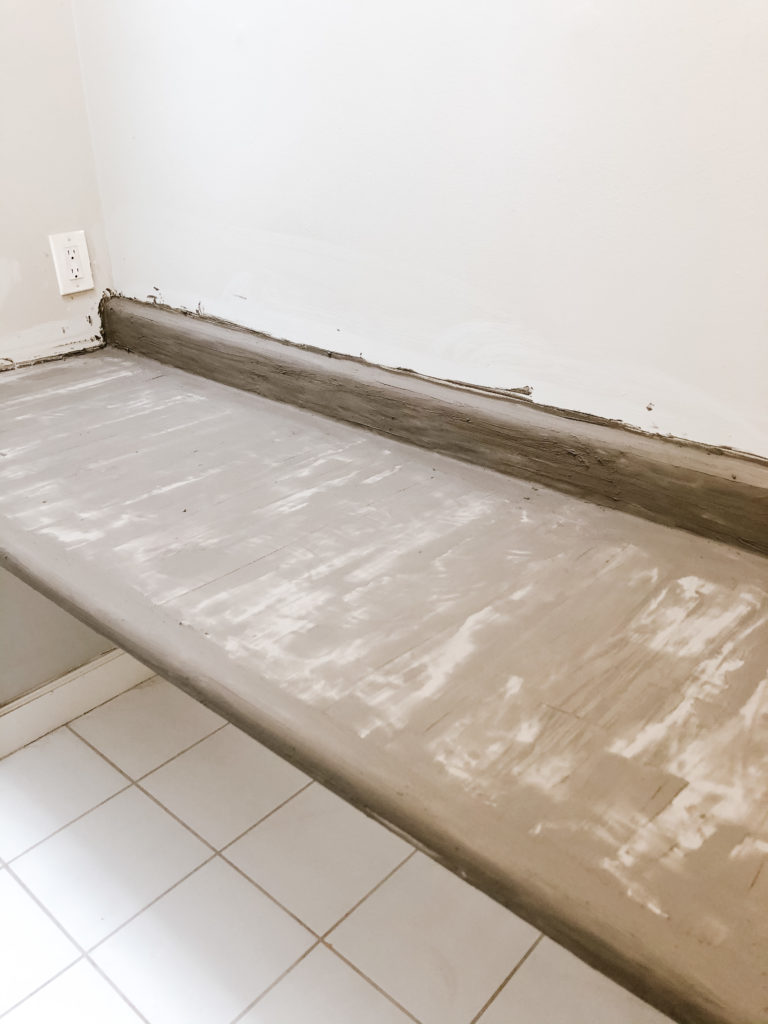
Finally, once the last layer has dried you want to seal the concrete. Now, my countertop is in the laundry room. It’s not going to be seeing too much action in the way of water, heavy traffic, cutting, spills, etc. So I went with this sealer.
If you are doing your kitchen countertops I would do a little more research on the sealer as you may need something a little more substantial and/or food safe.
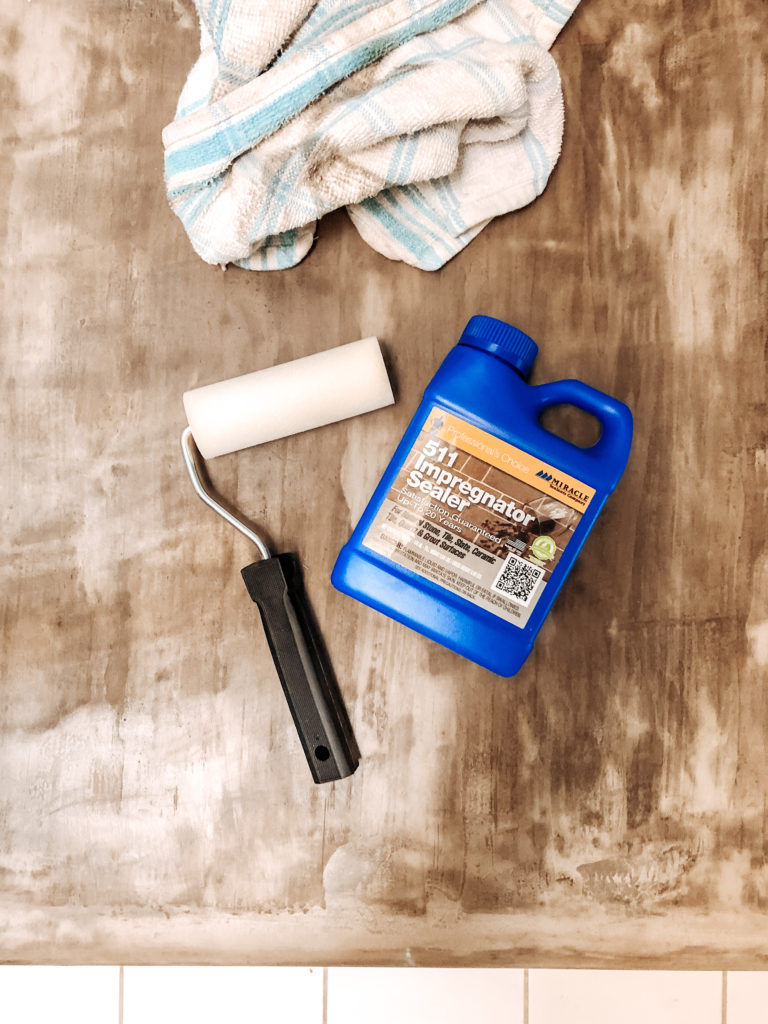
Overall I though the process was super easy, something a beginner level DIYer could do! Now that I’ve gotten the practice, I want to convince my husband to let me do the Lakehouse Countertops … hmmmmmm.
SHOP THIS POST

If you do your own countertops … Tag me! I’d love to see!
Instagram: @jessica.dawn.home | Facebook: Jessica Dawn Home
concrete concrete countertops diy concrete diy countertops diy home diy home decor diy projects laundry room diy laundry room inspo
[…] The kitchen is a nice size, lots of storage. I would like to take those upper cabinets in the front down at some point to open it up a bit and maybe try the DIY Concrete Countertops […]
